Linux: Install Director
The following article aims at presenting the reader with instructions on how to install a Director in a certain host.
Important
It is vital to remember that:
With the installation of the Director, by default you install File Daemon, Storage Daemon and bconsole on the same host.
It is recommended to install Bweb plugin along with the installation of the Director. Other plugins can be added later.
When adding plugins later, Bacula will launch the installation/upgrade process.
While going through the installation/upgrade steps again, your configuration file will not be overwritten, and when it comes to File Daemon - you will not need to register the Client in Bweb again.
Prerequisites
General Prerequisites apply here.
Steps
Run BIM and install the first component - Director:
./bee_installation_manager -t DIR
Confirm the Director and plugins installation with
Y.
===============================================
Installation of Director and associated plugins
===============================================
Proceed with Installation of Director and associated plugins? [Y/n] Y
Provide your download area address.
Note
To get your Download Area URL, go to your Customer Portal, click Your Subscription from the left menu, scroll down to the very bottom. You may copy your Download Area from Your Download Area section.
Please enter your Download Area URL. This information can be found in your Customer Portal in the "Your Subscription"
menu : https://www.baculasystems.com/dl/@@customer@@
Choose the version to be installed.
Available versions found on your Download Area for your current operating system [rhel7-64]:
---------------------------------------------------------------------------------------------
  1 : 11.0.6    2 : 12.0.5    3 : 12.2.5    4 : 12.4.4    5 : 12.6.5
  6 : 12.8.4    7 : 14.0.7    8 : 16.0.3
---------------------------------------------------------------------------------------------
Please, select the version of your Bacula Director ('16.0.3' by default) :
Choose the plugins to be installed (optional).
Note
It is recommended to install BWeb alongside the Director.
The following plugins available for the Director can be installed at version 14.0.3 :
---------------------------------------------------------------------------------------
  1 : bweb            2 : callhome-dir    3 : totp-dir
---------------------------------------------------------------------------------------
Select the number(s) of the plugins you want to install, separated by commas.
Leave empty and just press <Enter> to skip plugin selection : 1
Proceed with Managing Firewall rules.
Note
Choose the default options proposed for the firewall setting, unless the policies of your company require different rules.
=======================
Managing Firewall rules
=======================
Proceed with Managing Firewall rules? [Y/n]

Available Firewalls
--------------------
  1 : iptables        2 : firewall-cmd
--------------------
Please, make your selection :  ('firewall-cmd' by default) :
Confirm the process with
Y.
=========================================
Ready to process the following operations
=========================================
[X] Installation of : Bacula, bweb
[X] Managing Firewall rules

Continue or (r)etry? [Y/n/r]
Result
Bacula Director (+ optionally Bweb) is installed.
Installation of Director Successfully completed
===============================================
If you wish to use the Bacula CLI, please type "sudo -u bacula /opt/bacula/bin/bconsole"
BWeb has been installed. It can be accessed on https://<Bweb's IP or FQDN>:9180/
===============================================
Bacula Enterprise Installation Manager. Done.
=============================================
Post-installation Suggestions
If you installed Bweb, open a browser and copy/type the address you have received in the final message from the BIM installation wizard.
When prompted, enter the login and password as was entered in BIM for BWeb, the username being admin.
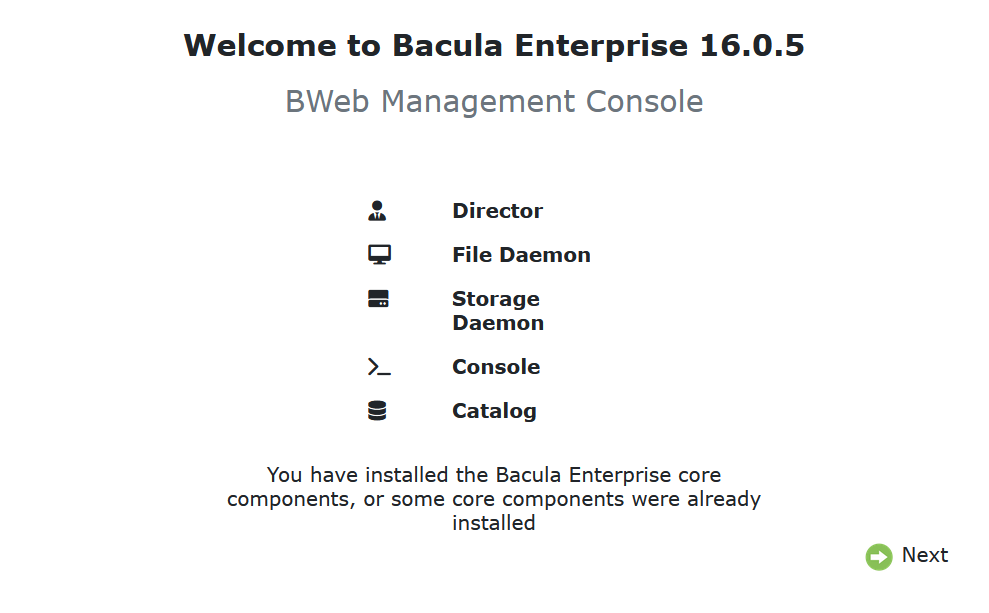
On the welcome screen, click “Next”.
You will be presented with the Checking Connection screen.
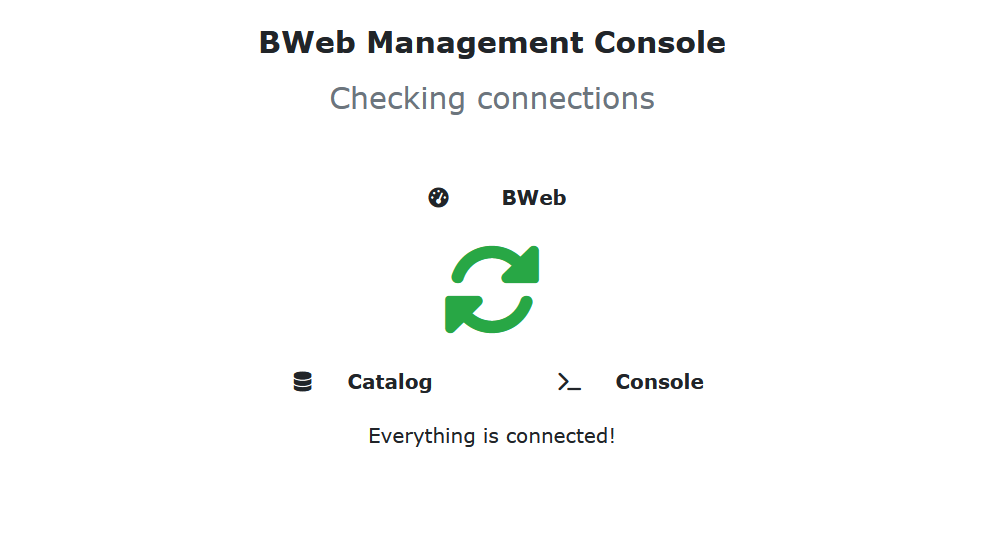
After the connection is checked, you will be presented with the following screen:
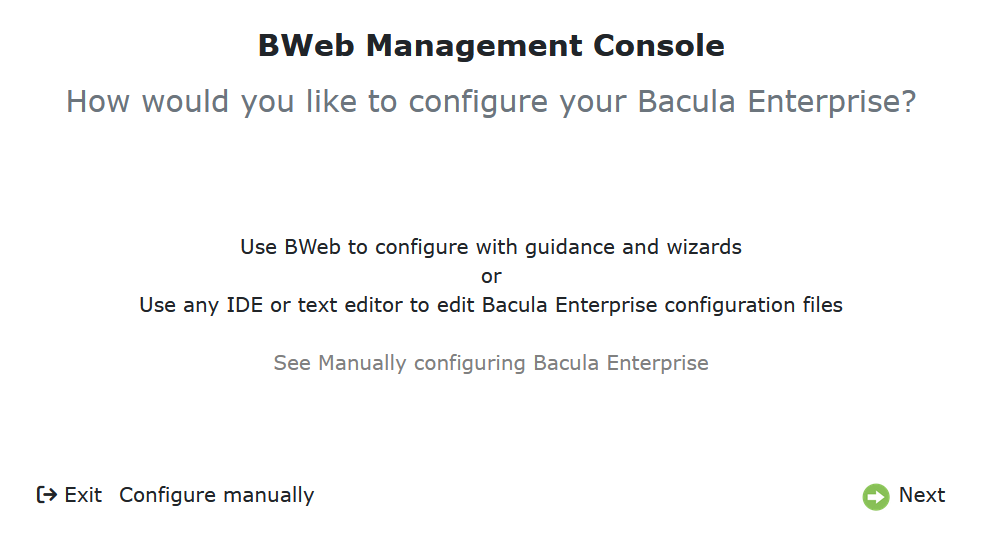
Click “Next”.
Choose the preferred option.
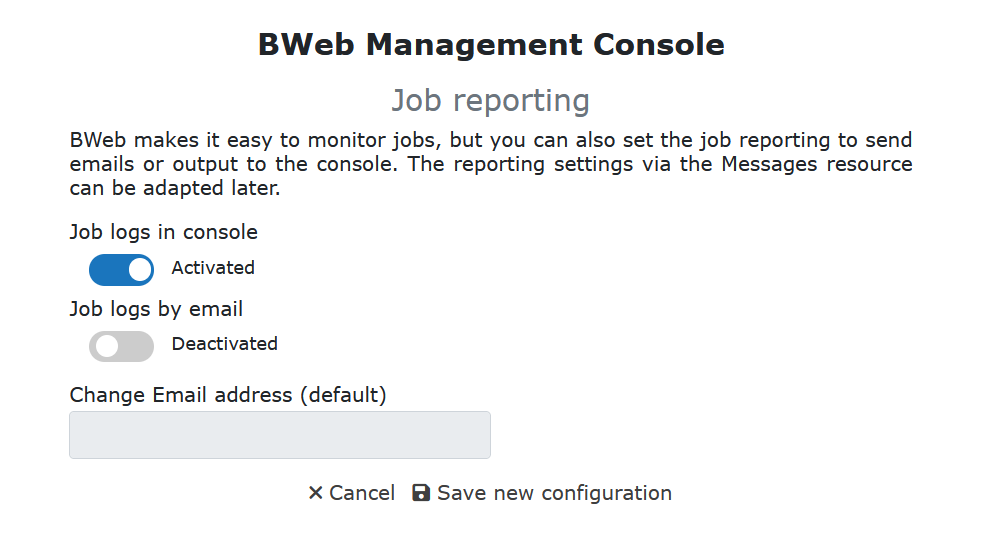
Click “Save new configuration”.
Now, you will be able to verify the connection to the Catalog from Bweb, and the connection to bconsole from Bweb.
On the main page of Bweb, navigate to “Configuration” -> “Bweb Configuration” on the left navigational panel.
On the right side of the page, click “Edit” on the “Actions” panel.
In edit mode, click on the icon “SQL Link Status” to verify the link with the Catalog, and on the second icon “Bconsole Link Status” to verify the link to bconsole.
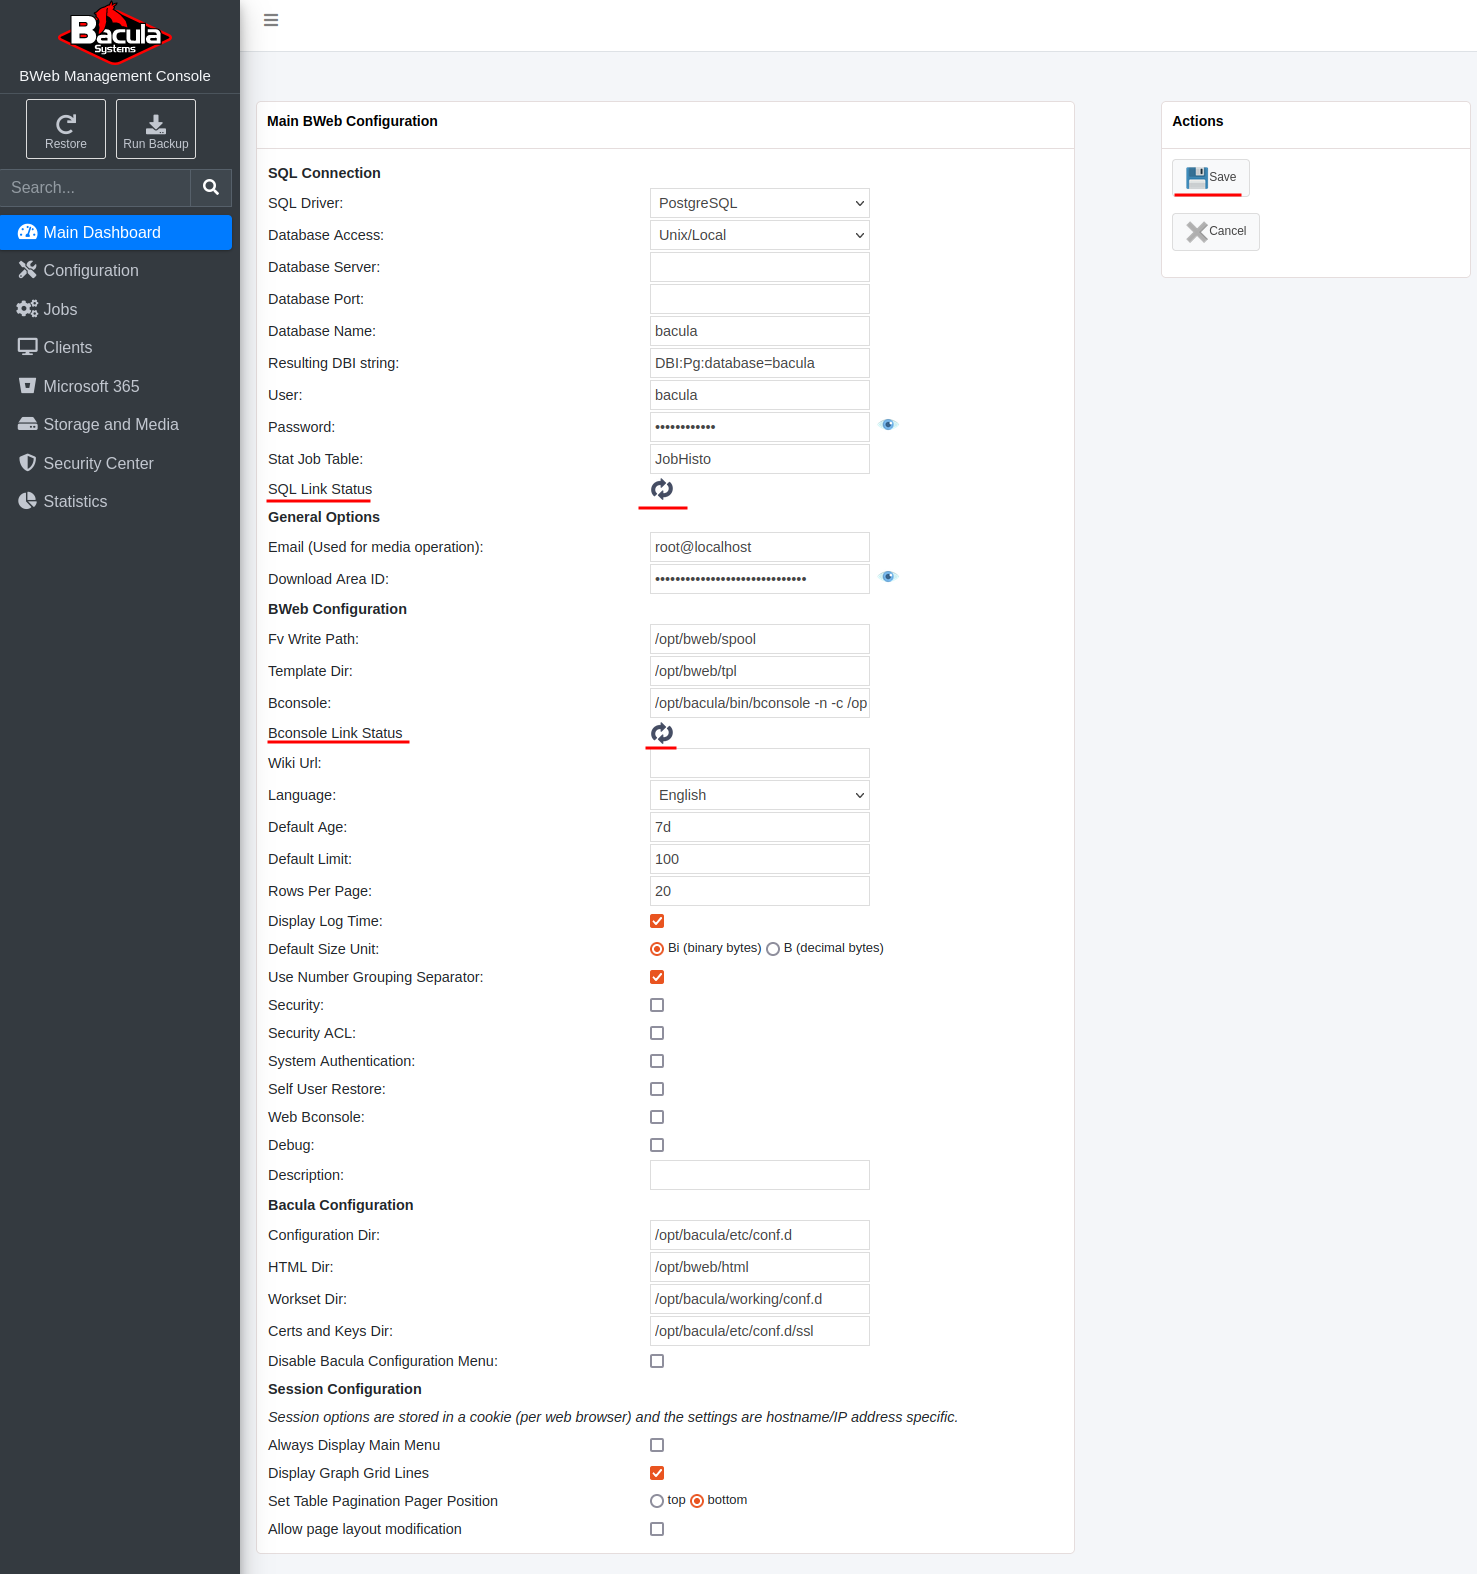
Once clicked, both should have a green check mark indicator.
Both of these are essential for BWeb. If you have installed BWeb on the same operating system than the DIR, the Catalog and the SD, you have nothing else to do on this page. Finalize your configuration by clicking “Save”.
Go back to Install Components on Linux
Go back to the main Bacula Installation page