QEMU Plugin: Quick Start
EnterpriseBacula Enterprise Only
This solution is only available for Bacula Enterprise. For subscription inquiries, please reach out to sales@baculasystems.com.
Important
This guide covers creating a backup job, running a backup, and restoring a VM with the QEMU Plugin in Proxmox VE (PVE) mode. For Genuine QEMU and advanced settings, see the QEMU Plugin documentation.
Installation
The QEMU Plugin for Bacula Enterprise can be installed with the File Daemon (FD) using the Bacula Installation Manager (BIM). Select 19 for QEMU in the plugin menu shown below.
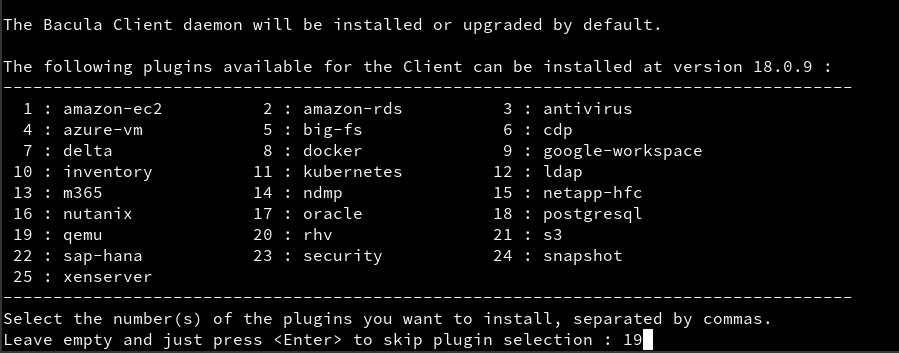
The installation procedure checks prerequisites, lets you choose the Bacula version and plugins, and configures firewall rules.
Alternatively, install the plugin directly using the package manager.
For this PVE example, install the File Daemon and QEMU Plugin on the Proxmox host running the VMs to be backed up. See the File Daemon installation guide.
Configuration
To add a Job in the QEMU Plugin in Bweb:
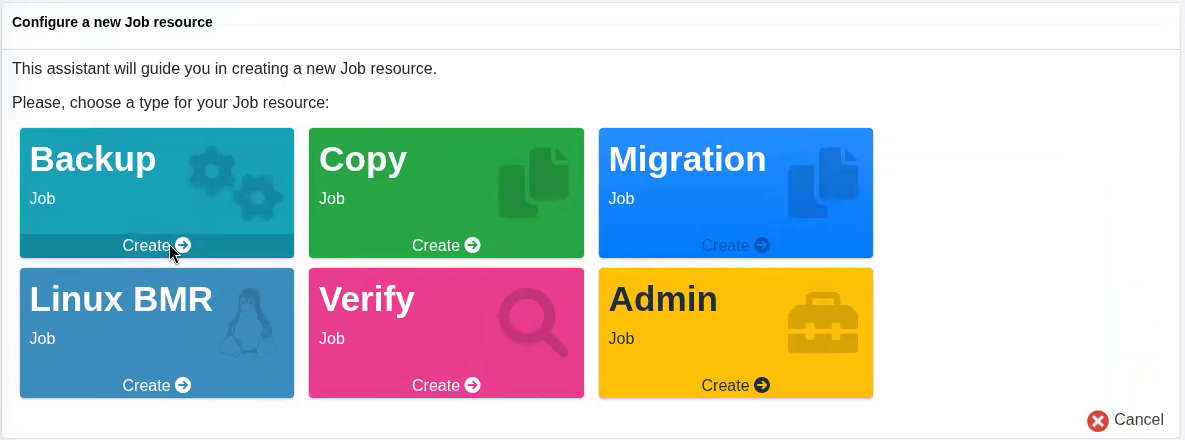
Click the + icon at the bottom right and select Add Job.

Click Create in the Backup tile.
Enter a job name and description, then choose a Job Template. This example uses
BackupsToDedup2. Click Next.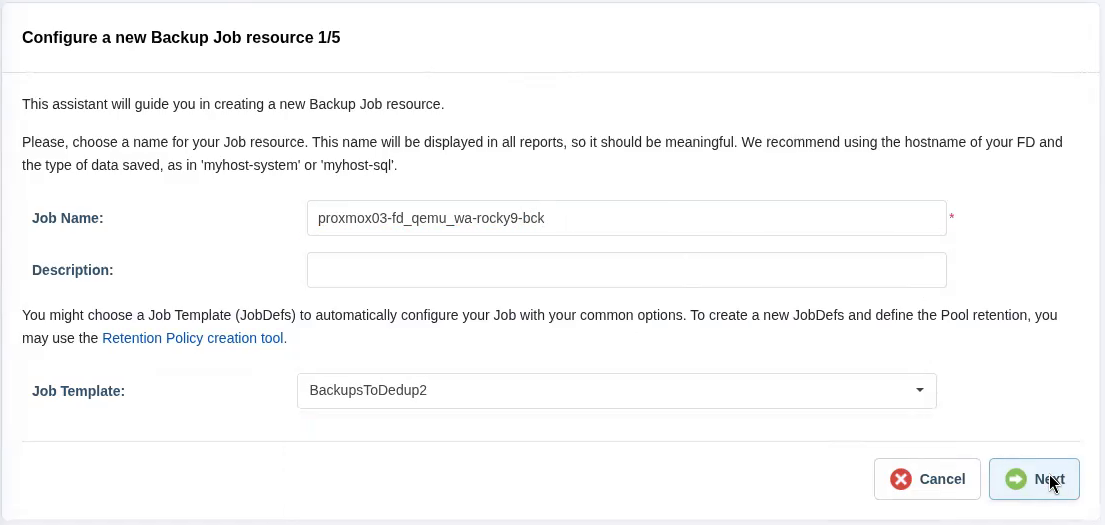
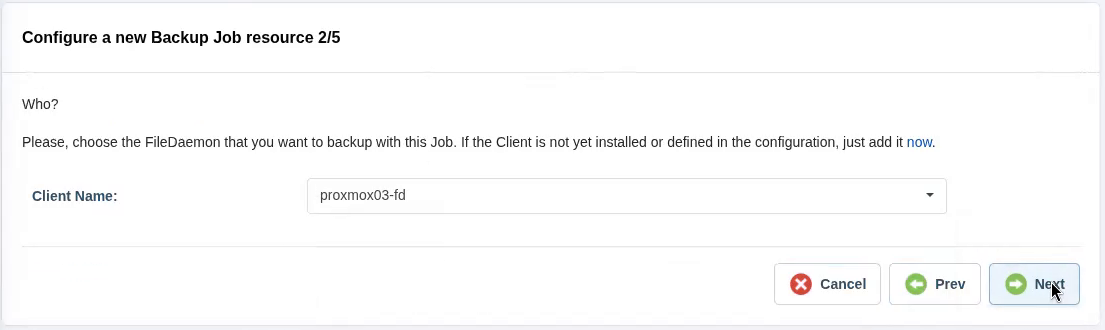
Select the Proxmox host’s Client, then click Next.
Select a Fileset. To create one, click now.
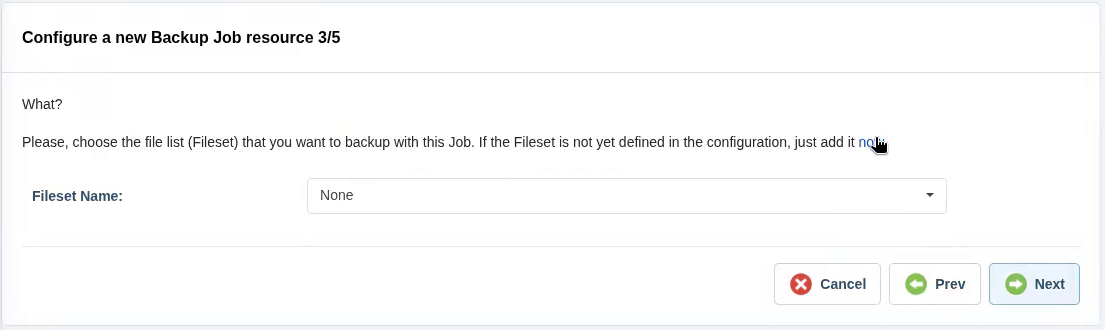
5.1. Enter a name and description for the Fileset, then click Next.
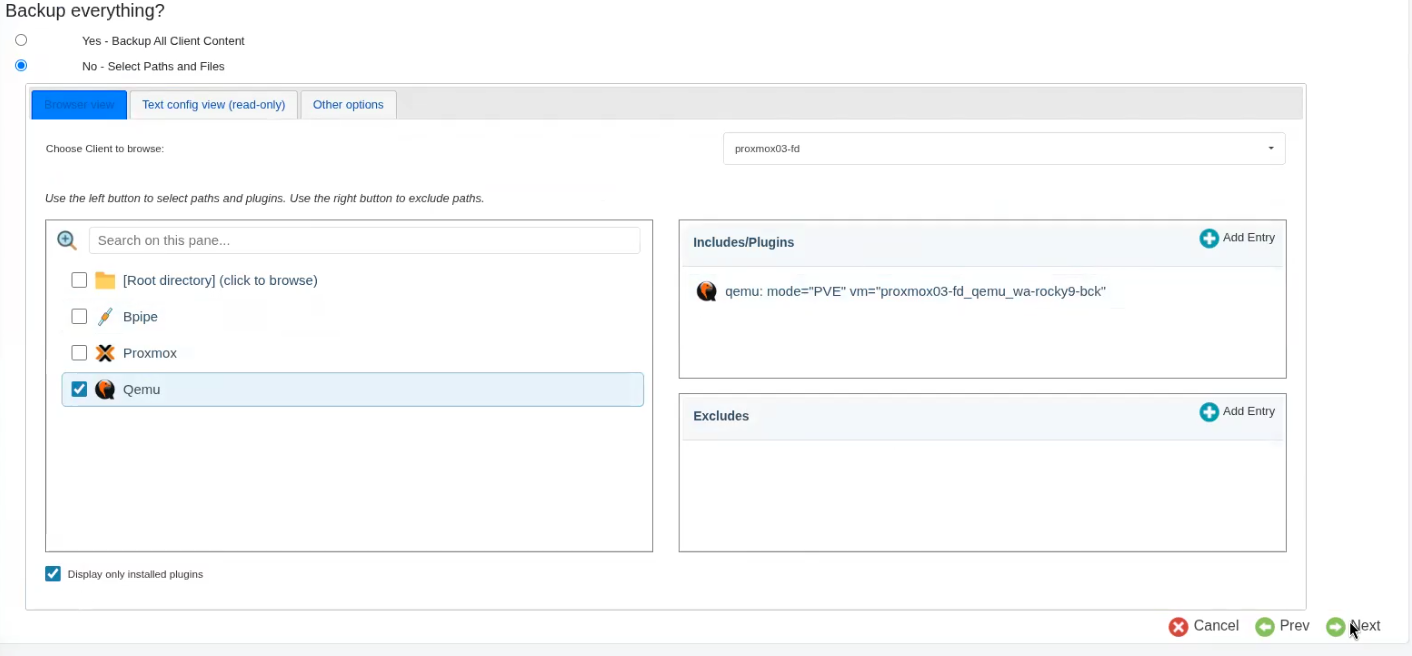
5.2. Choose No - Select Paths and Files, select the host Client, and click Qemu.
5.3. In General, set Plugin HyperVisor to PVE.
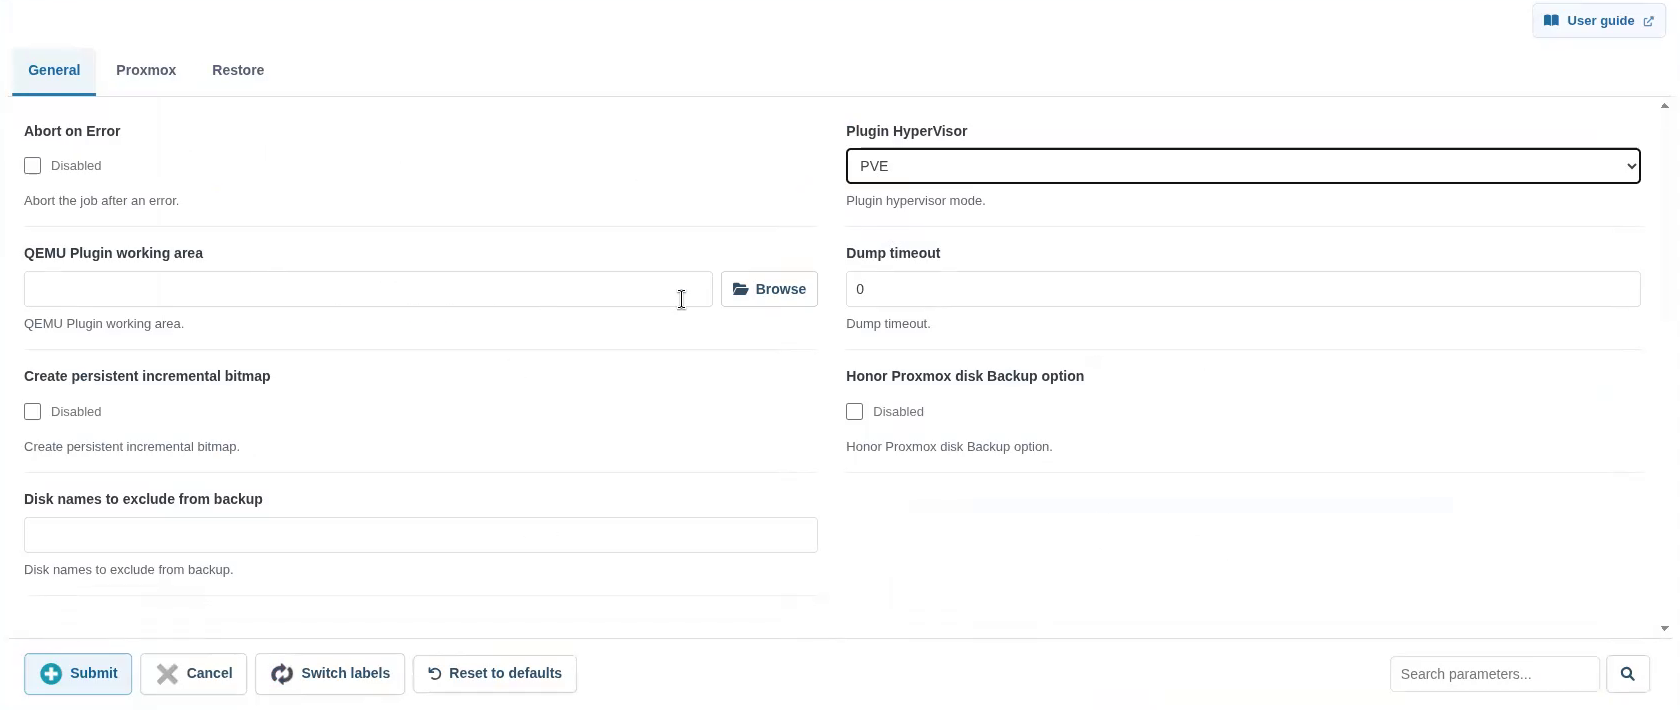
In Proxmox, enter the VM’s actual Proxmox name in Proxmox VM name to backup, for example
proxmox03-fd_qemu_wa-rocky9-bck. Click Submit, then Next.
5.4. Review the Fileset configuration and click Save.
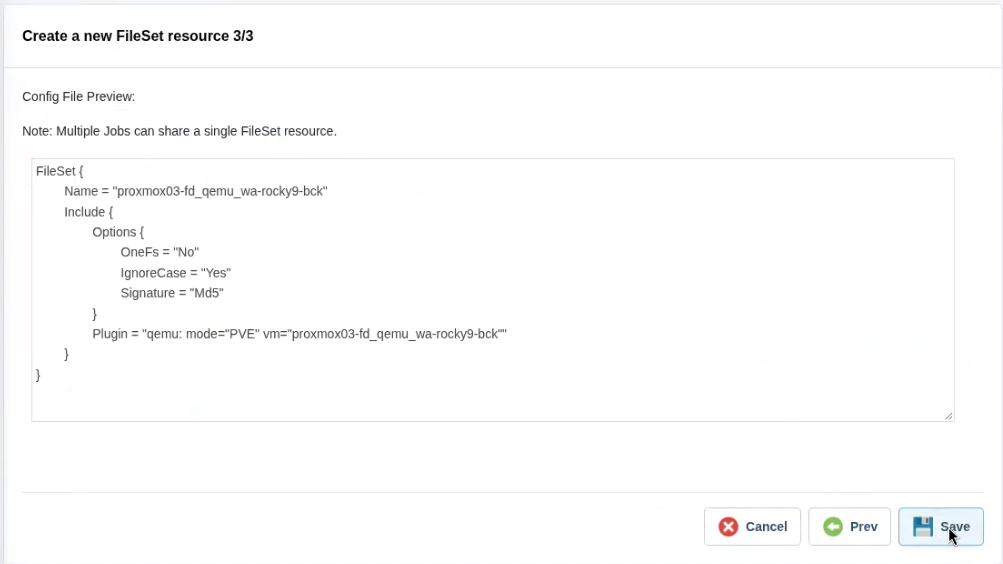
With the new Fileset selected, click Next.
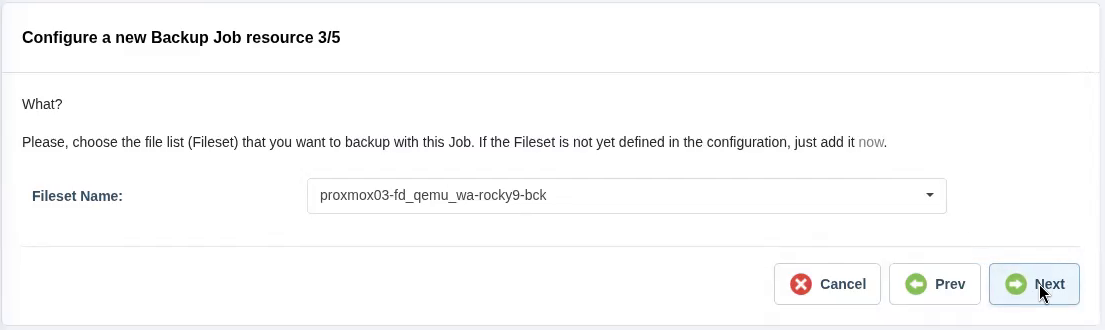
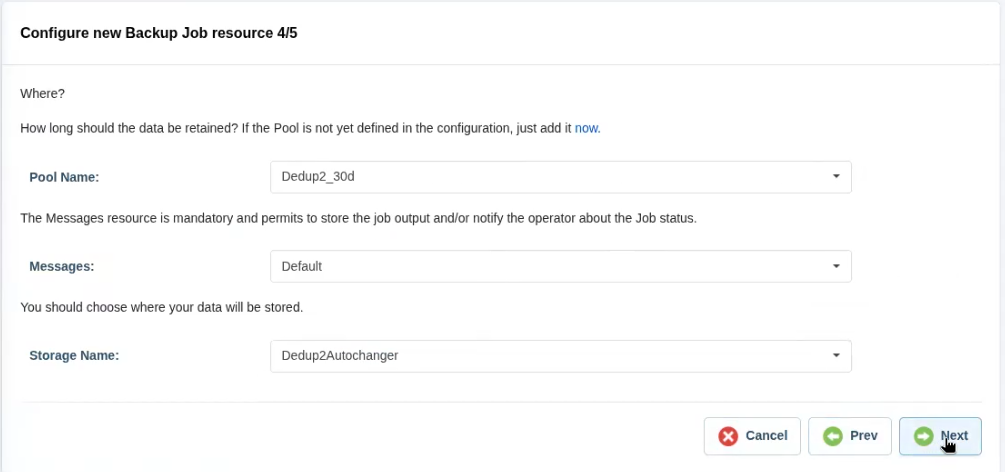
Choose the Pool Name, Messages, and Storage Name, then click Next.
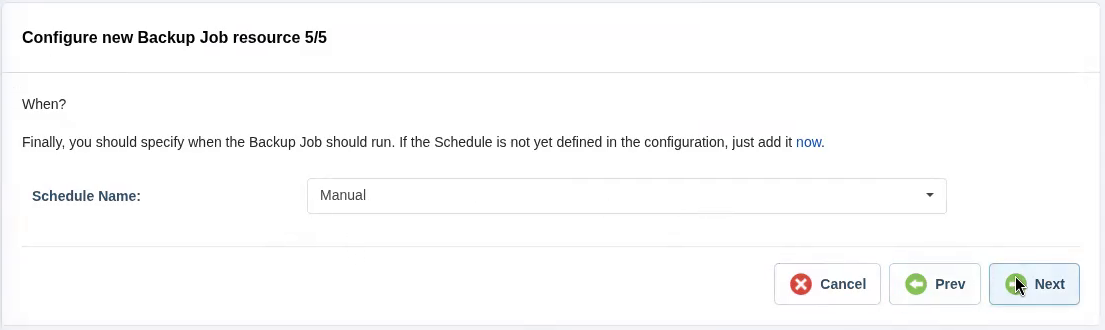
Choose a Schedule and click Next.
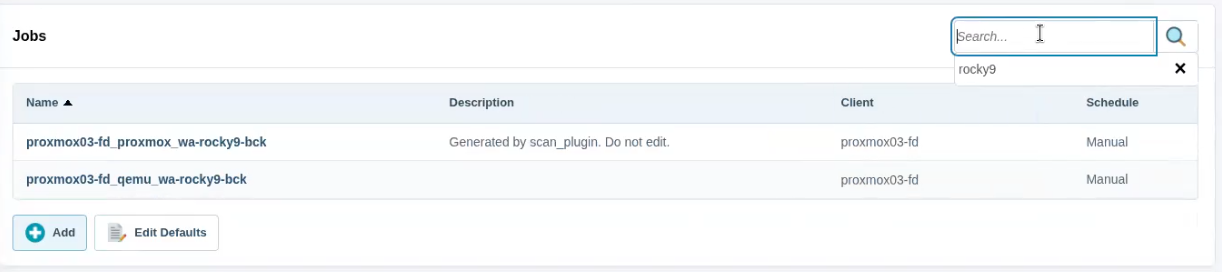
Verify that the new job appears in Configuration → Jobs.
For more options, see QEMU Plugin configuration.
Backup Example
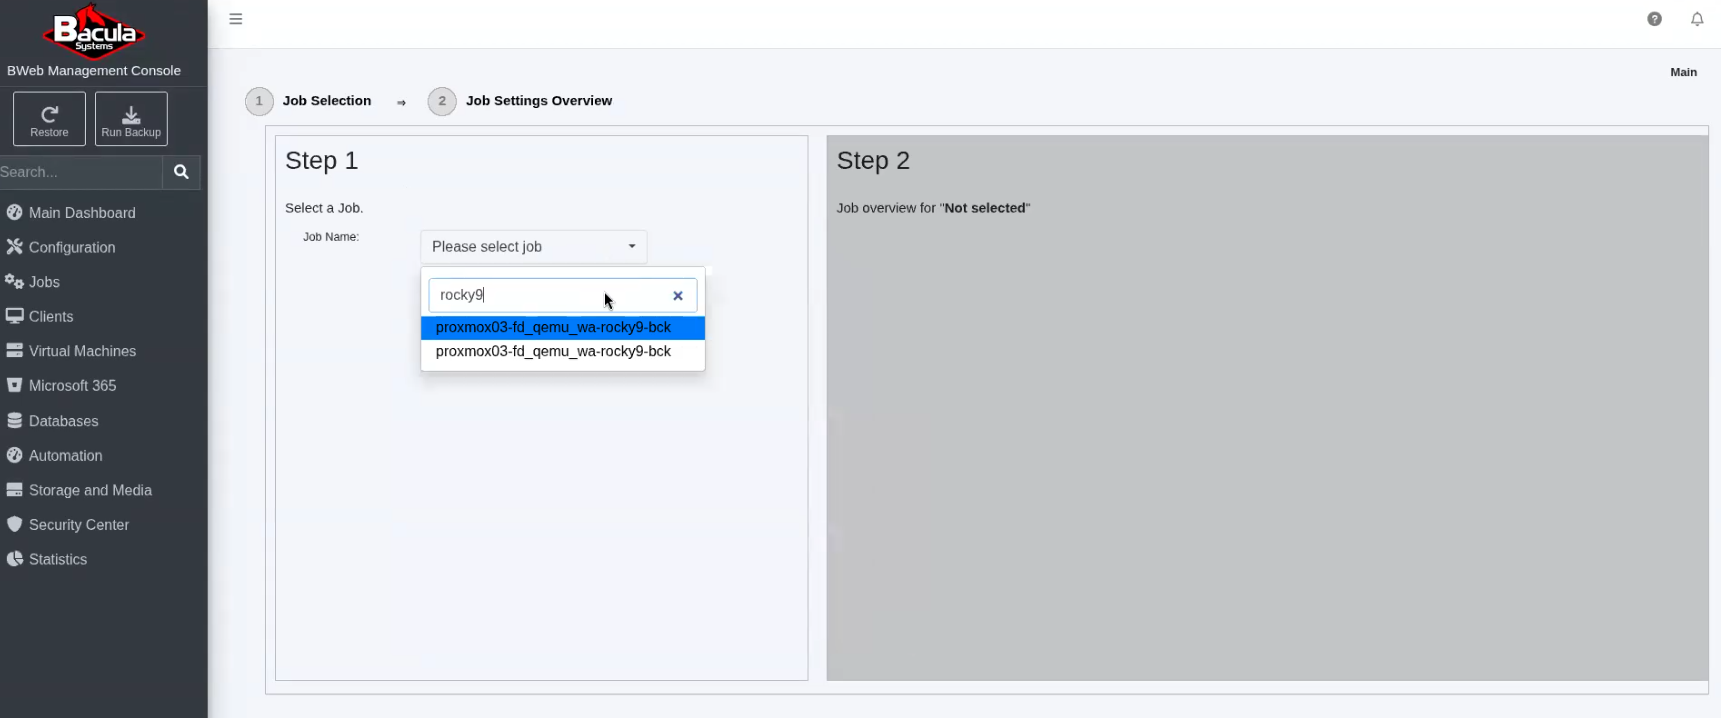
Click Run Backup and select the QEMU backup job created above.
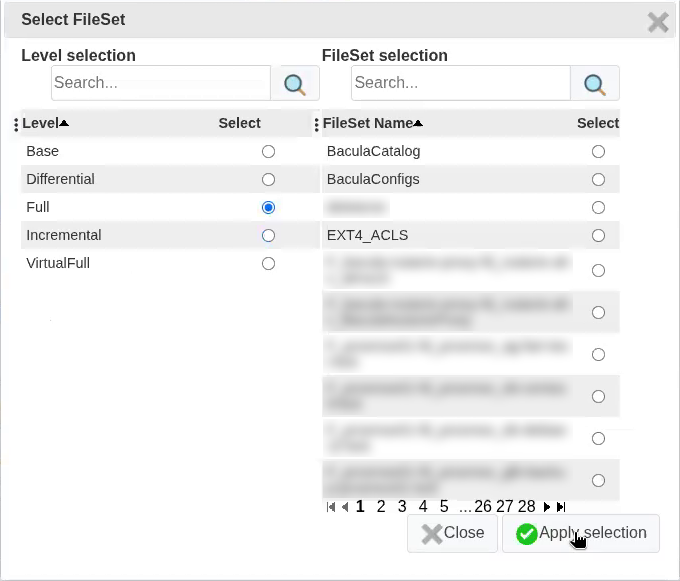
Review Job Settings Overview, including its Client, Storage, and Fileset. Set the backup level to Full for this first run and apply the selection. Start the job.
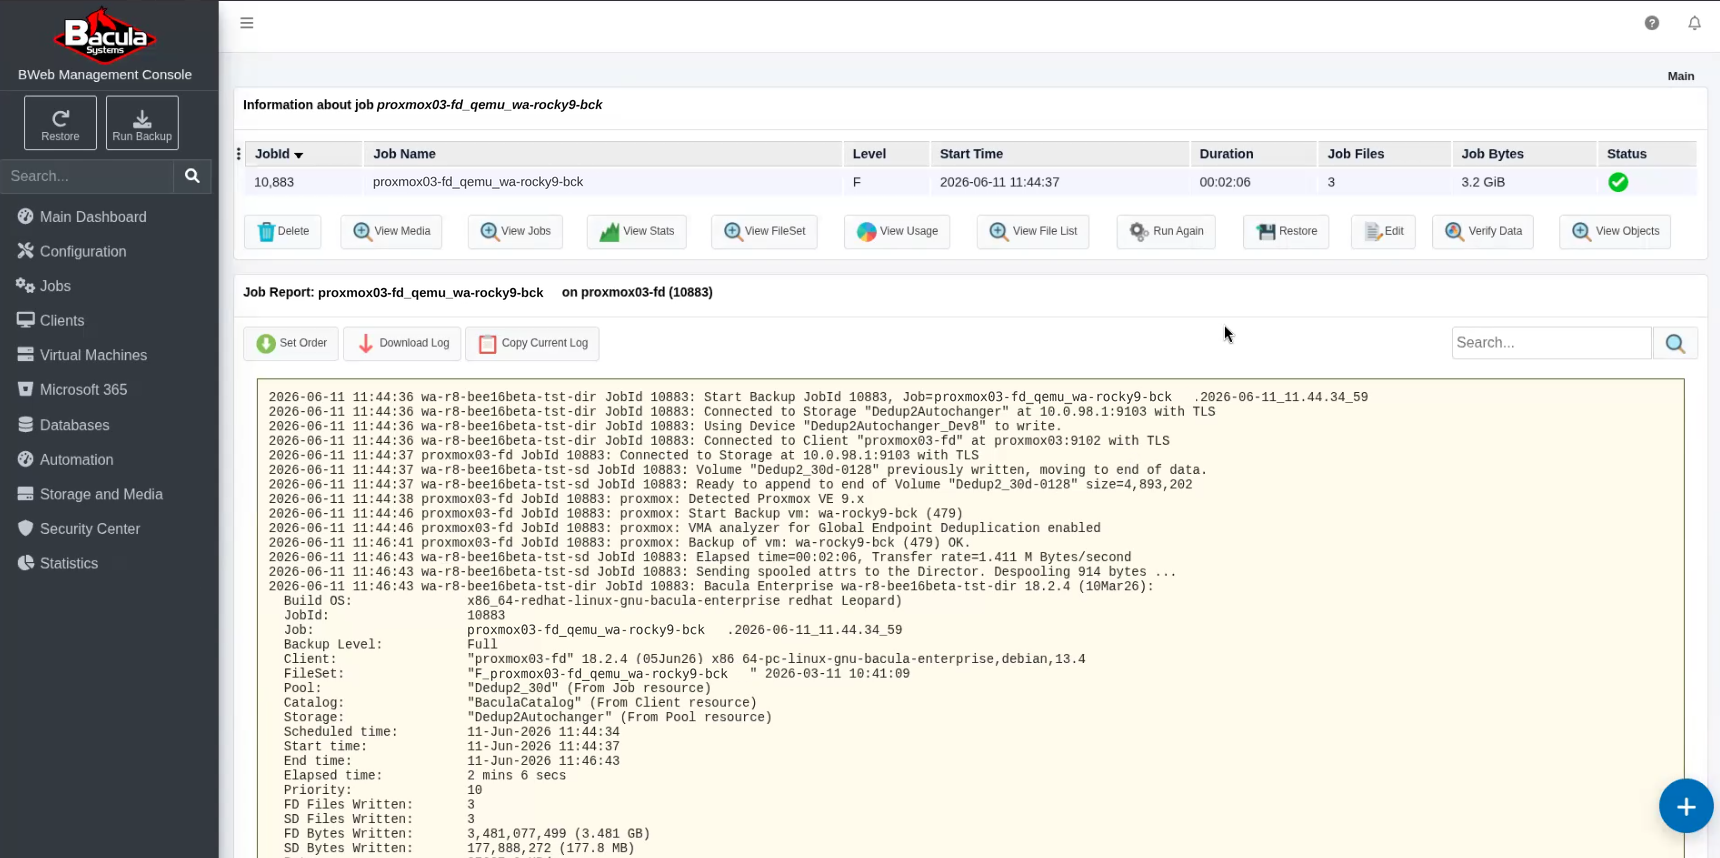
When the job completes, review its Job Report and termination status. Investigate errors or warnings before treating the backup as successful.
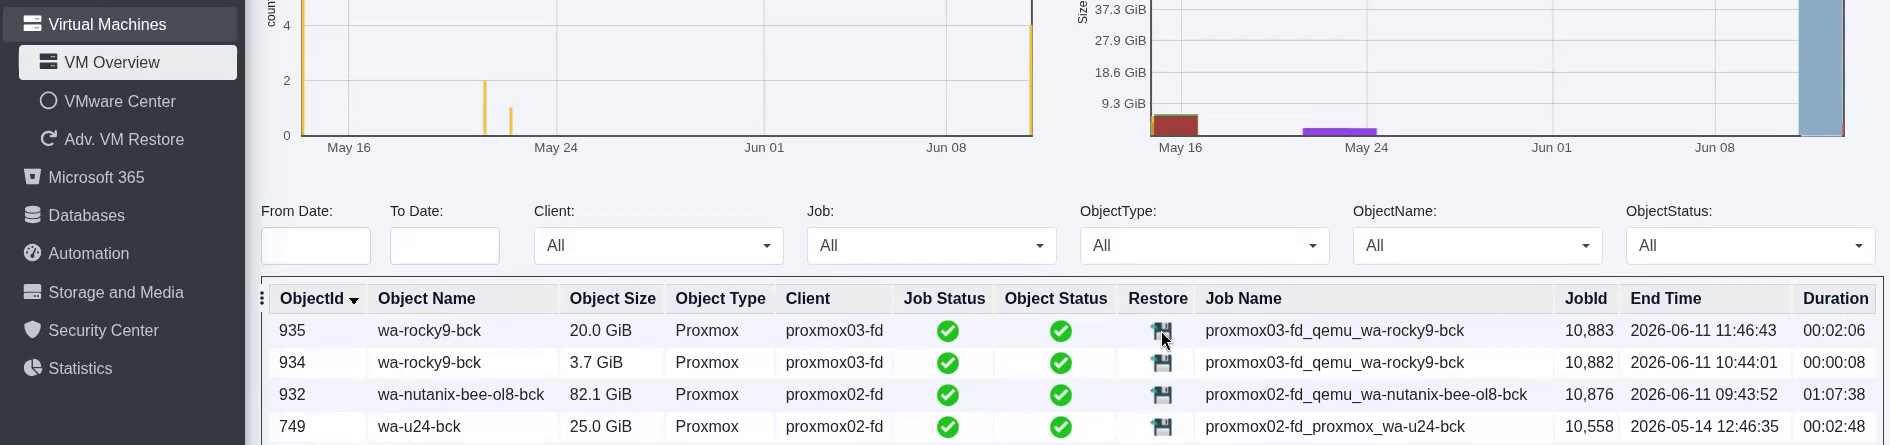
You can also view backup results under Virtual Machines -> VM Overview. The table shows the Client, Job Name, completion time, Job Status, and Object Status for each backup.
Restore Examples
In VM Overview, locate the QEMU backup you want to recover and click the
restore icon on that row. In the screenshot above, use the second row for
proxmox03-fd_qemu_wa-rocky9-bck. Review the restore point and VM selection,
then proceed to Restore Options.
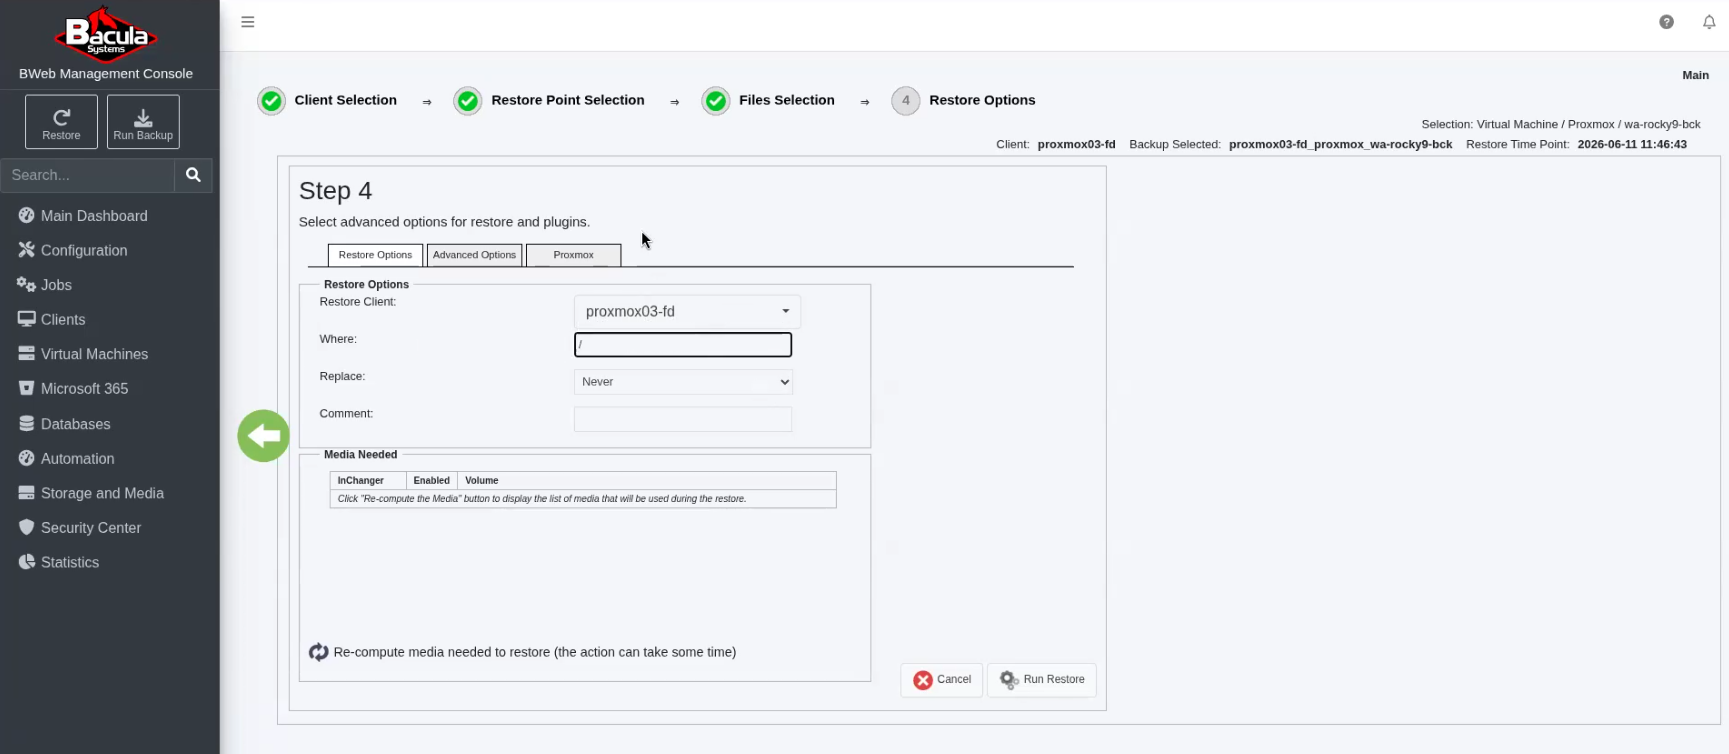
Restore a VM to Proxmox VE
Select the restore Client and set Where to
/.
If needed, set the QEMU
storagerestore option to the target Proxmox storage. Otherwise, the original storage is used.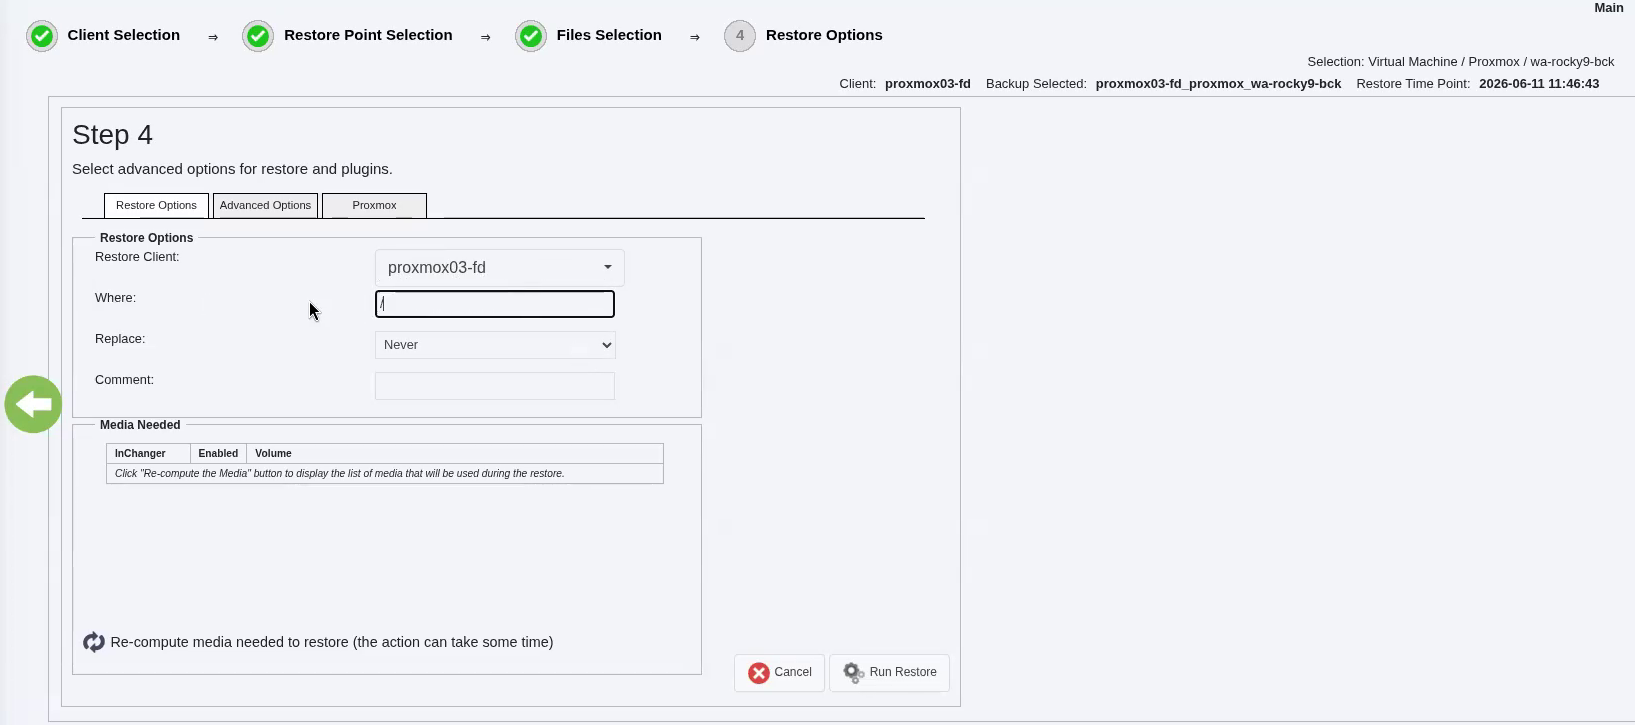
Click Run Restore, then check the Job Report for Restore OK.
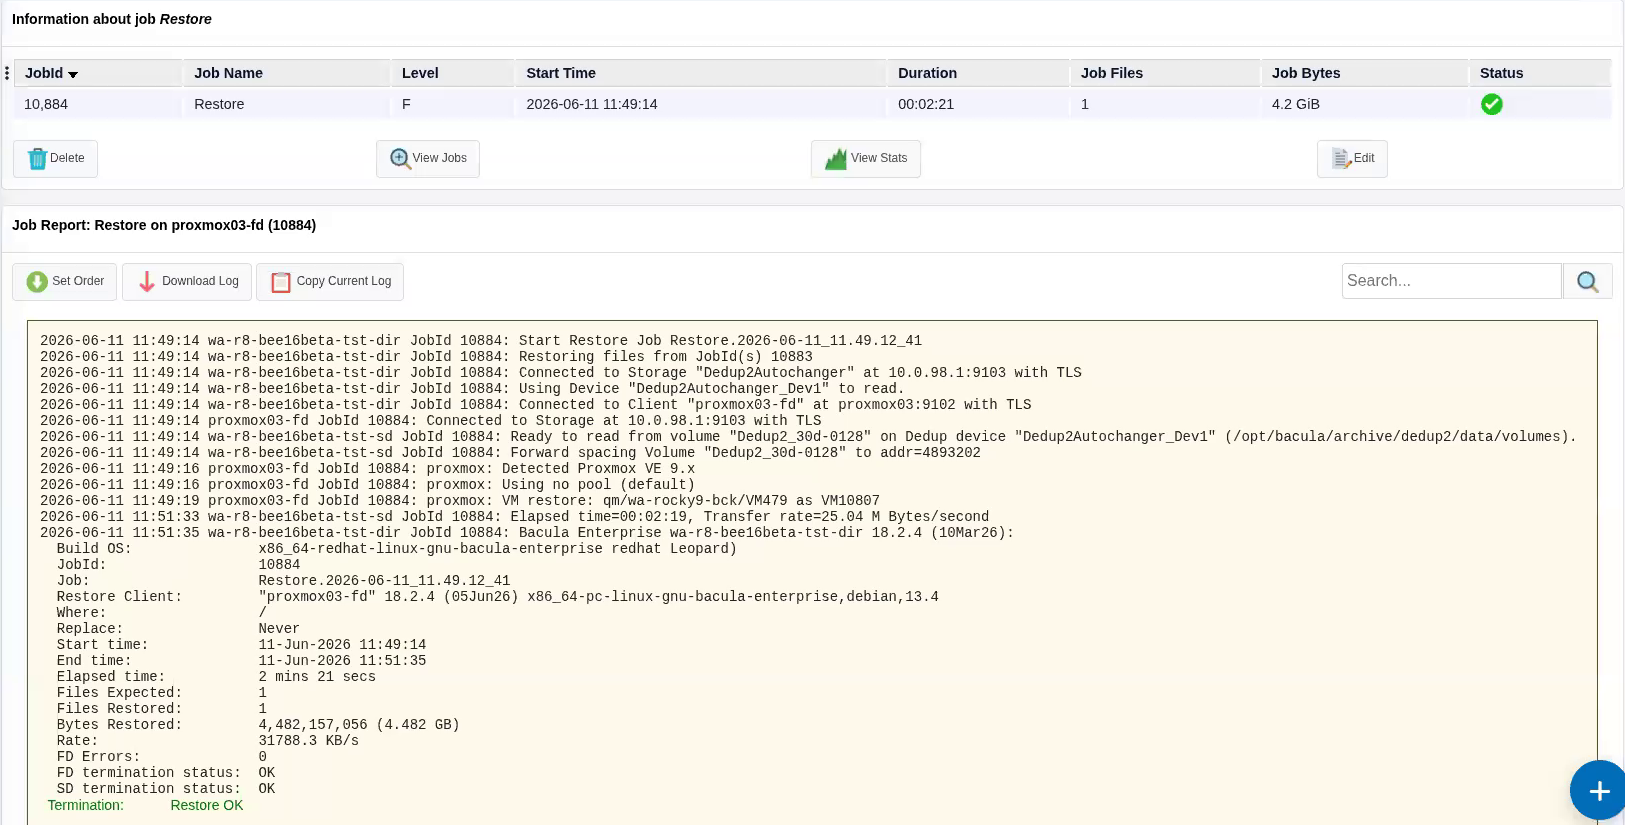
You can also locate the recovered VM in Proxmox to review its configuration. QEMU PVE restore allocates a new VMID when the original is occupied. Inspect network settings before starting the VM to avoid conflicts.
Go back to: QEMU Plugin.