Add Backup Job
EnterpriseBacula Enterprise Only
This solution is only available for Bacula Enterprise. For subscription inquiries, please reach out to sales@baculasystems.com.
The following article aims at providing a comprehensive guide to adding a Backup Job, detailing each step from creating a job and selecting configurations to reviewing and committing the setup.
Important
Make sure to register your Download Area ID in BWeb.
Use Add Job.
In the Backup tile, click on Create.
Choose a Job Name and add a meaningful Description. In the Job Template drop-down menu, select the previously created Backup Policy.
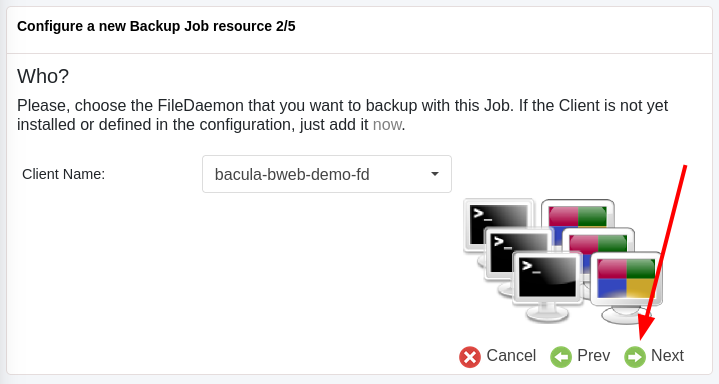
Set Who - Select the correct client in the Client Name menu.
Set What - Select the previously created Fileset in the Fileset Name menu.
Set Where - Choose the Pool Name and the Storage Name.
Set When - Define the Schedule Name in the drop-down menu.
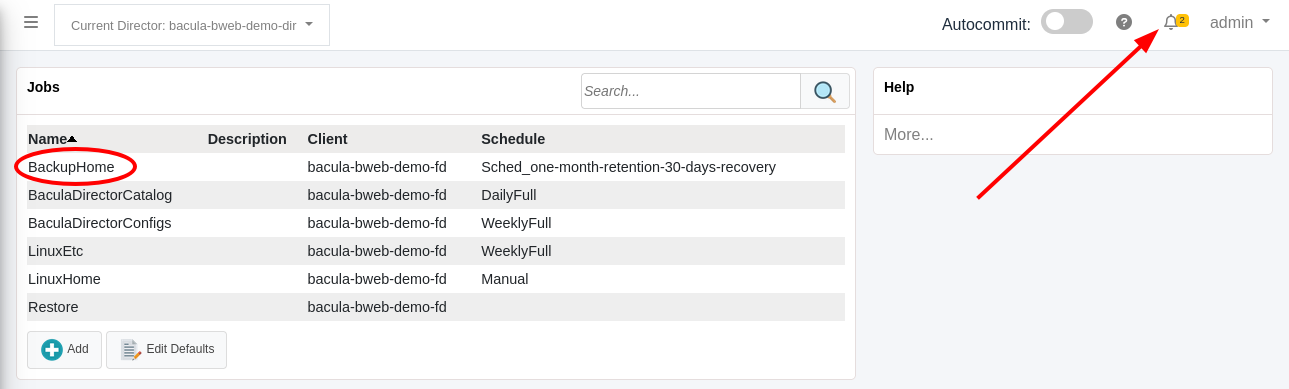
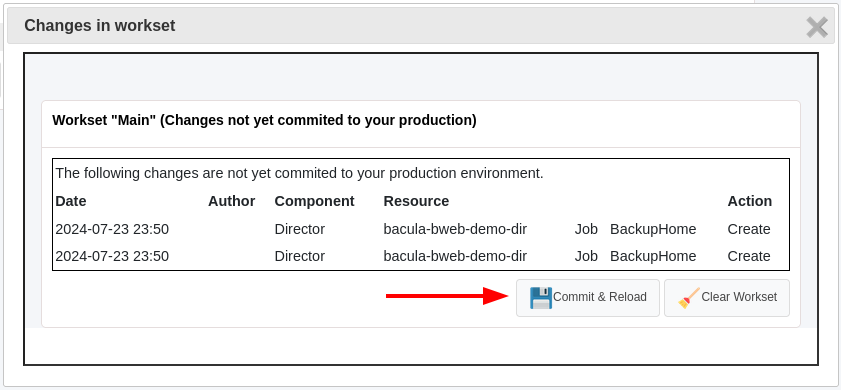
Check out the configured Backup Job in the Jobs tab. If Autocommit is not toggled, be sure to click on the Notification Area.
Click on Commit & Reload to apply the changes.
See also
Previous articles:
Next articles:
Go back to: Bacula Enterprise Guide to Basic Operations.