Keycloak Configuration
EnterpriseBacula Enterprise Only
This solution is only available for Bacula Enterprise. For subscription inquiries, please reach out to sales@baculasystems.com.
Keycloak is an open-source Identity and Access Management (IAM) platform that provides Single Sign-On (SSO), user federation, and identity brokering. It implements OpenID Connect and OAuth 2.0, making it a natural fit for BWeb delegated authentication.
This section provides a practical, UI-driven checklist for configuring Keycloak as an OIDC identity provider for BWeb. Keycloak deployments vary by realm structure and policy, so treat the values shown here as patterns and replace placeholders with your environment values.
The objective is to produce a standard confidential OIDC client that can authenticate users in Keycloak and pass role/group claims to BWeb through OAuth2-Proxy.
Overview
At a high level, you will:
Register a new OIDC client for BWeb.
Configure login settings and redirect URLs.
Collect the client credentials for BWeb.
Configure client scopes and token mappers.
Create roles and assign users to them.
Validate login and logout behavior with BWeb.
Client Configuration
Create a new OpenID Connect client for BWeb.
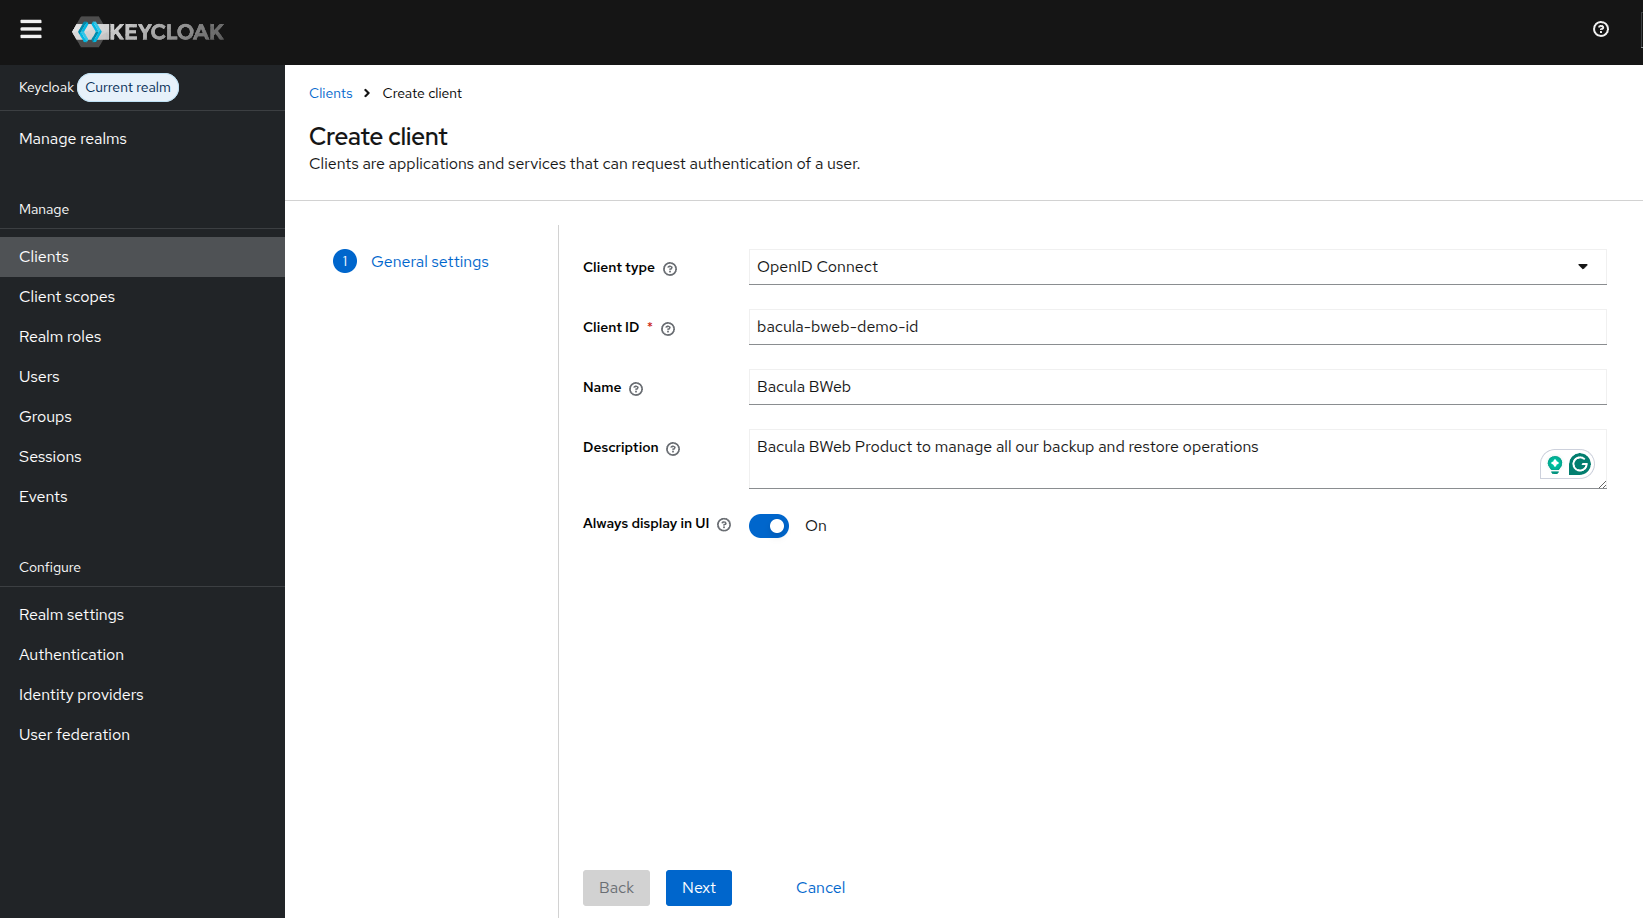
In Clients, select Create client and define the basic client information.
Choose OpenID Connect as the client type, then define a Client ID and Name that will identify BWeb in your realm. The Client ID is a stable identifier and will be referenced later in the BWeb OAuth2 configuration.
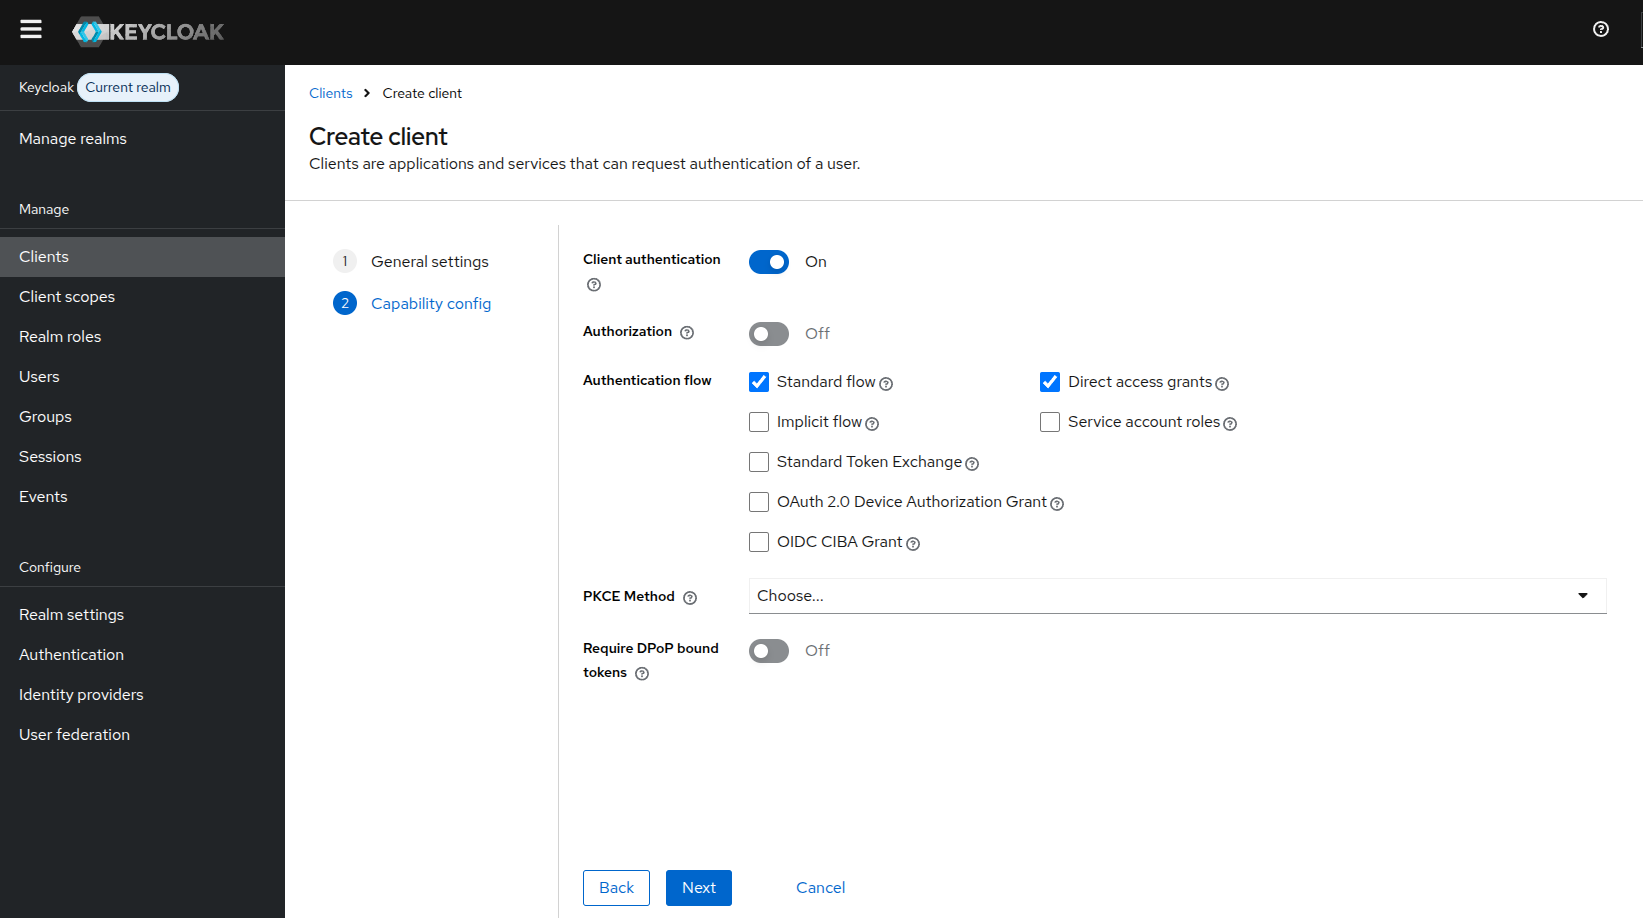
On Capability config, enable client authentication and the standard flow.
Recommended settings:
Client authentication: enabled
Standard flow: enabled
Direct access grants: enabled (as shown in this example setup)
This enables the Authorization Code flow that BWeb uses via OAuth2-Proxy. Leave other flows disabled unless your security policy requires them.
On Login settings, configure the URLs used by BWeb.
These URLs must match the address users actually use to access BWeb, otherwise login and logout redirects will fail. Use:
Root URL and Home URL:
https://[bweb.ip.or.hostname]Valid redirect URIs:
https://[bweb.ip.or.hostname]/oauth2/callbackValid post logout redirect URIs:
https://[bweb.ip.or.hostname]Web origins:
https://[bweb.ip.or.hostname]
The URI values are strict. Even small mismatches (for example http vs https or missing path
segments) can cause “invalid redirect_uri” errors during login.

Client Credentials
After the client is created, open the Credentials tab to obtain the client secret.
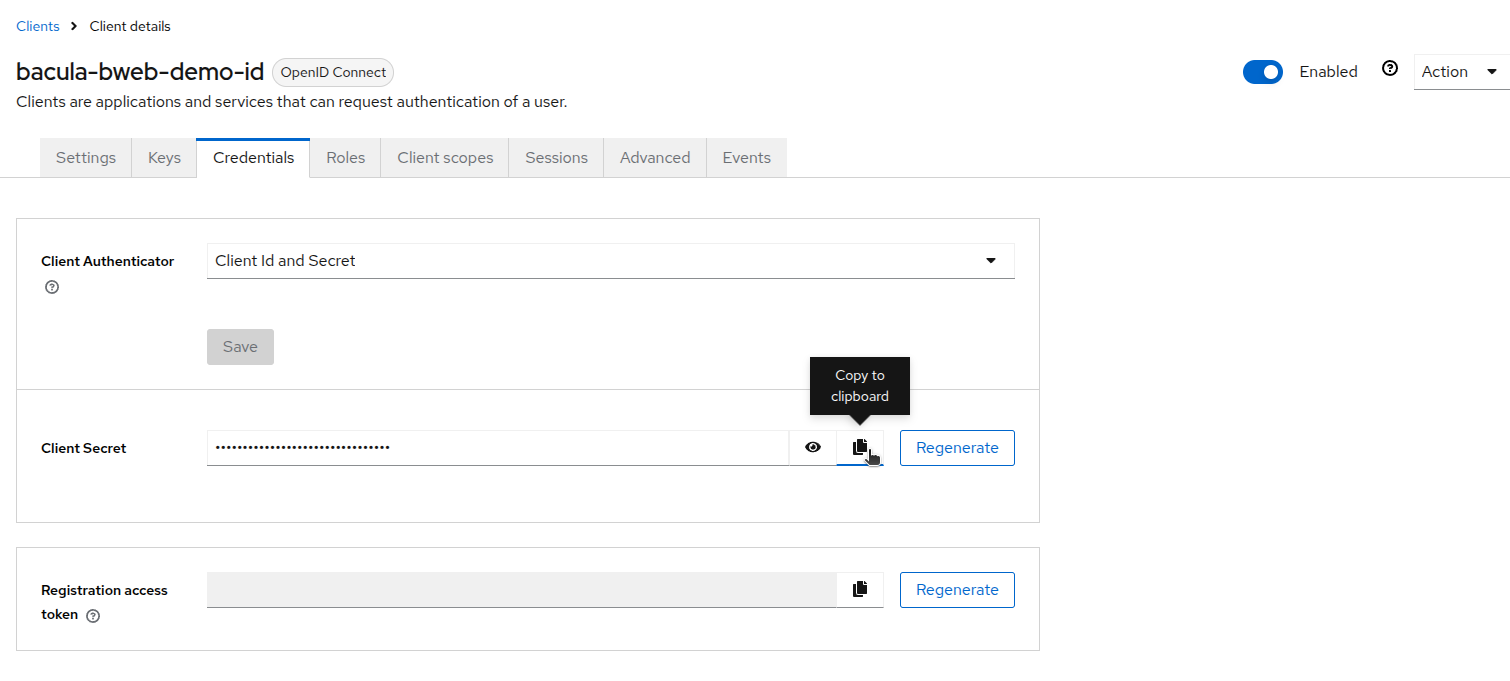
Collect the following values for the BWeb OAuth2 configuration:
Client ID ->
client_idClient Secret ->
client_secretRealm issuer URL ->
oidc_issuer_urlRealm logout endpoint ->
oauth2_logout_url
Issuer URL format:
https://[keycloak.host]/realms/[realm-name]
Logout URL format:
https://[keycloak.host]/realms/[realm-name]/protocol/openid-connect/logout
If Keycloak is exposed on a non-default port, include it in the issuer URL (for example,
https://[keycloak.host]:8443/realms/[realm-name]).
Without these values, OAuth2-Proxy cannot authenticate to Keycloak and the login flow will fail.
Client Scopes and Token Mappers
BWeb uses group or role information from the access token to map permissions. Configure client scopes and mappers so those claims are included.
If your realm does not include role/group information in issued tokens by default, add the required protocol mappers in this section.
Open the Client scopes tab for your BWeb client and select the dedicated scope.
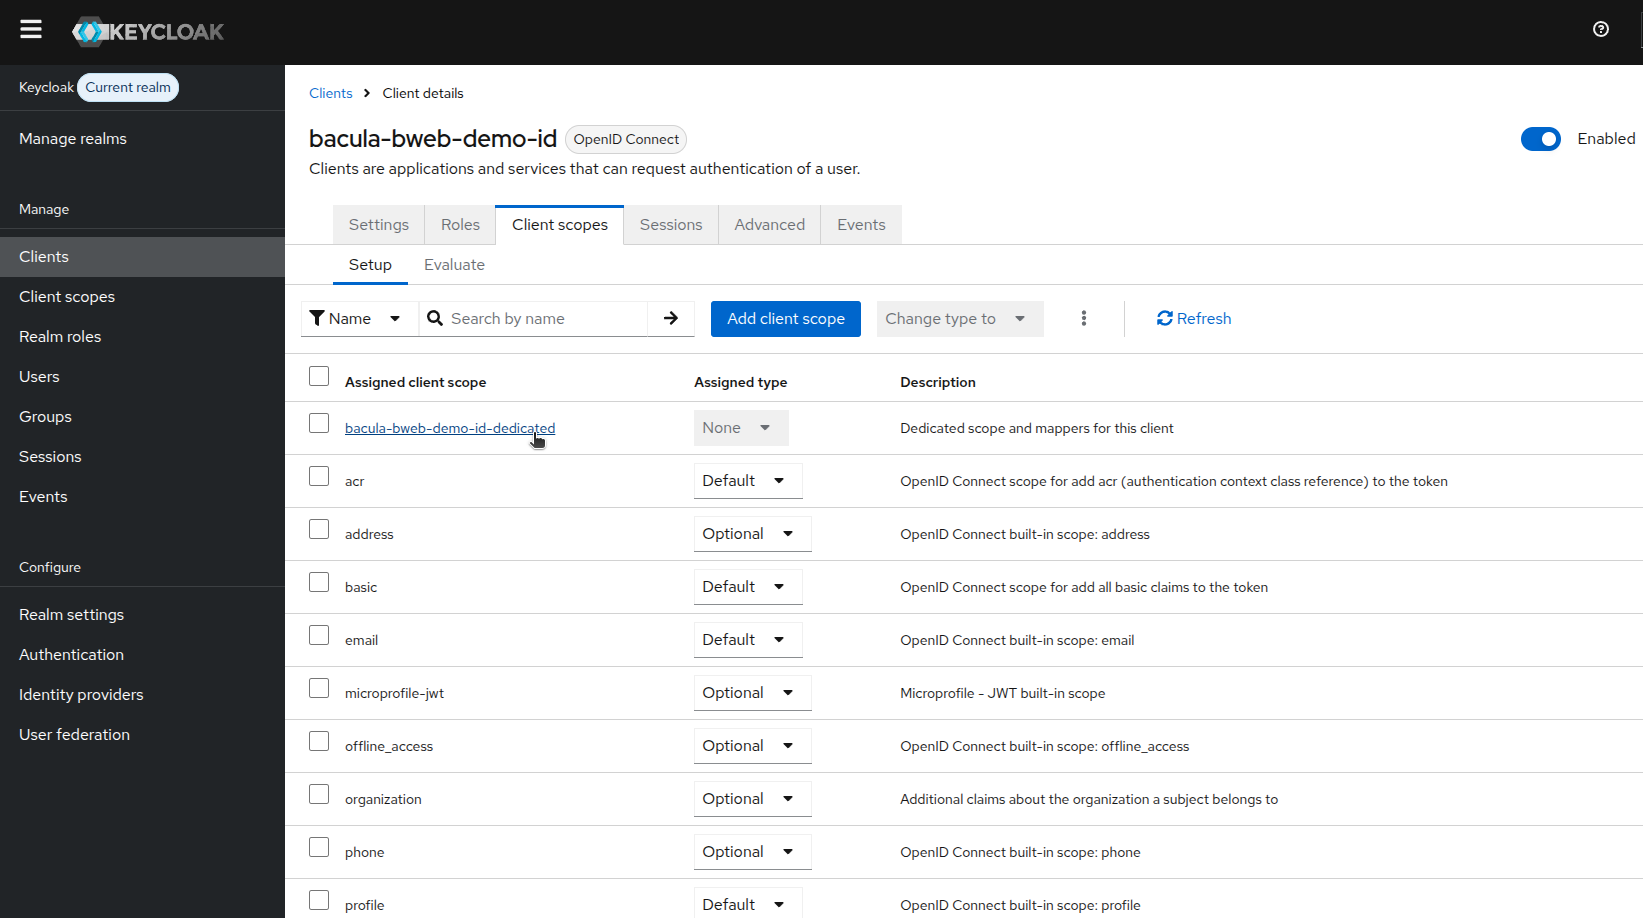
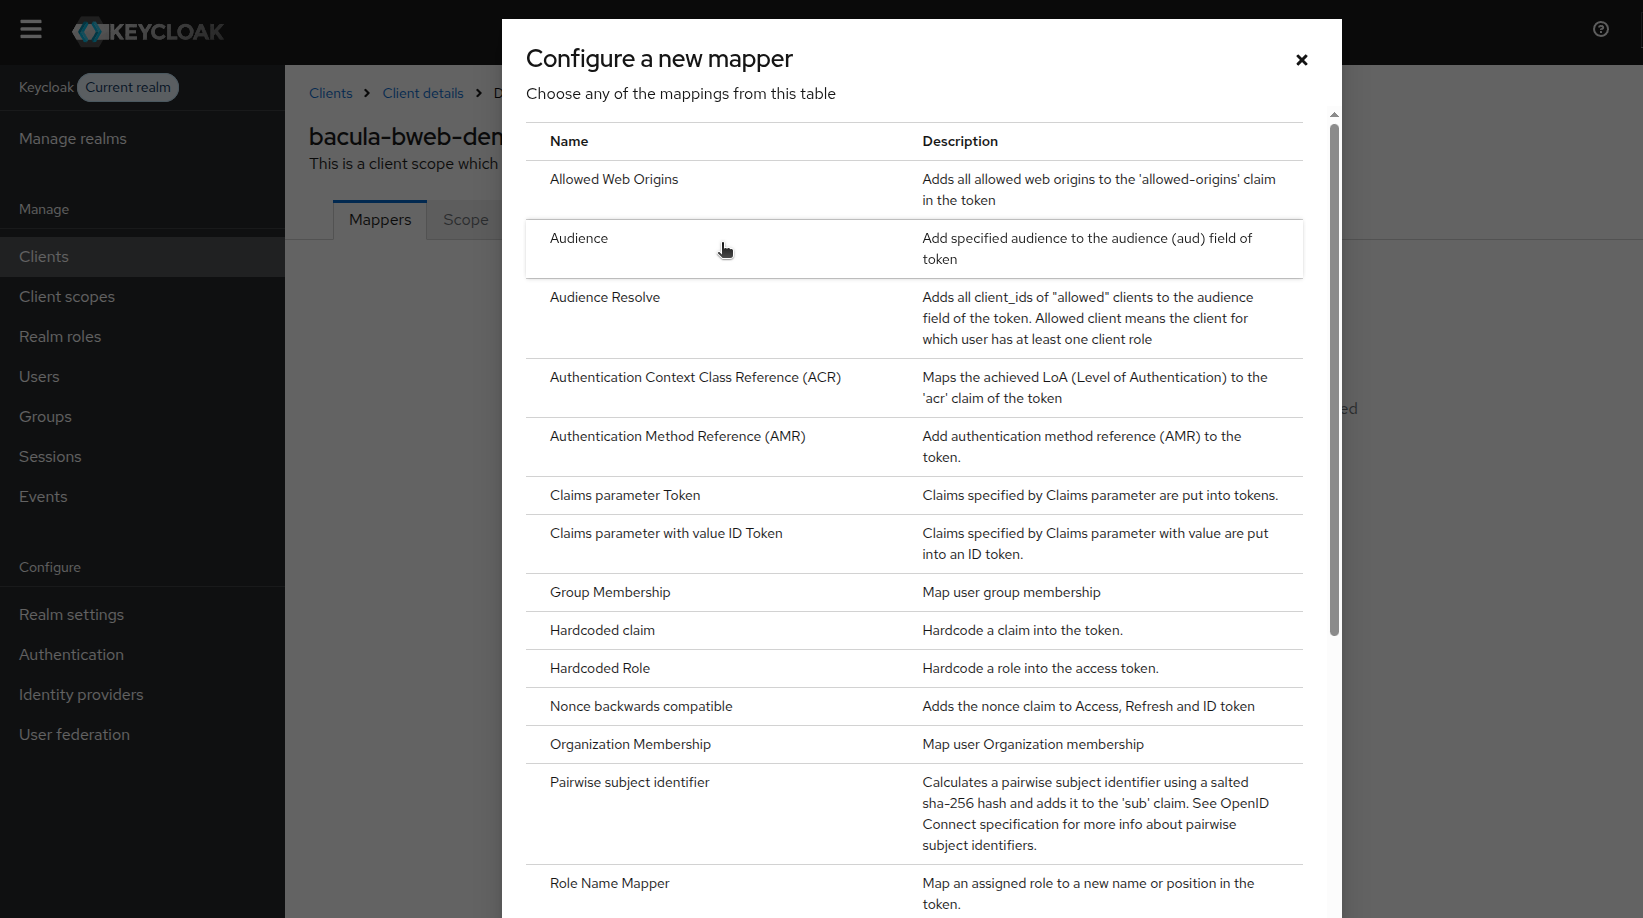
In the dedicated scope, add a mapper to expose the claims BWeb needs.
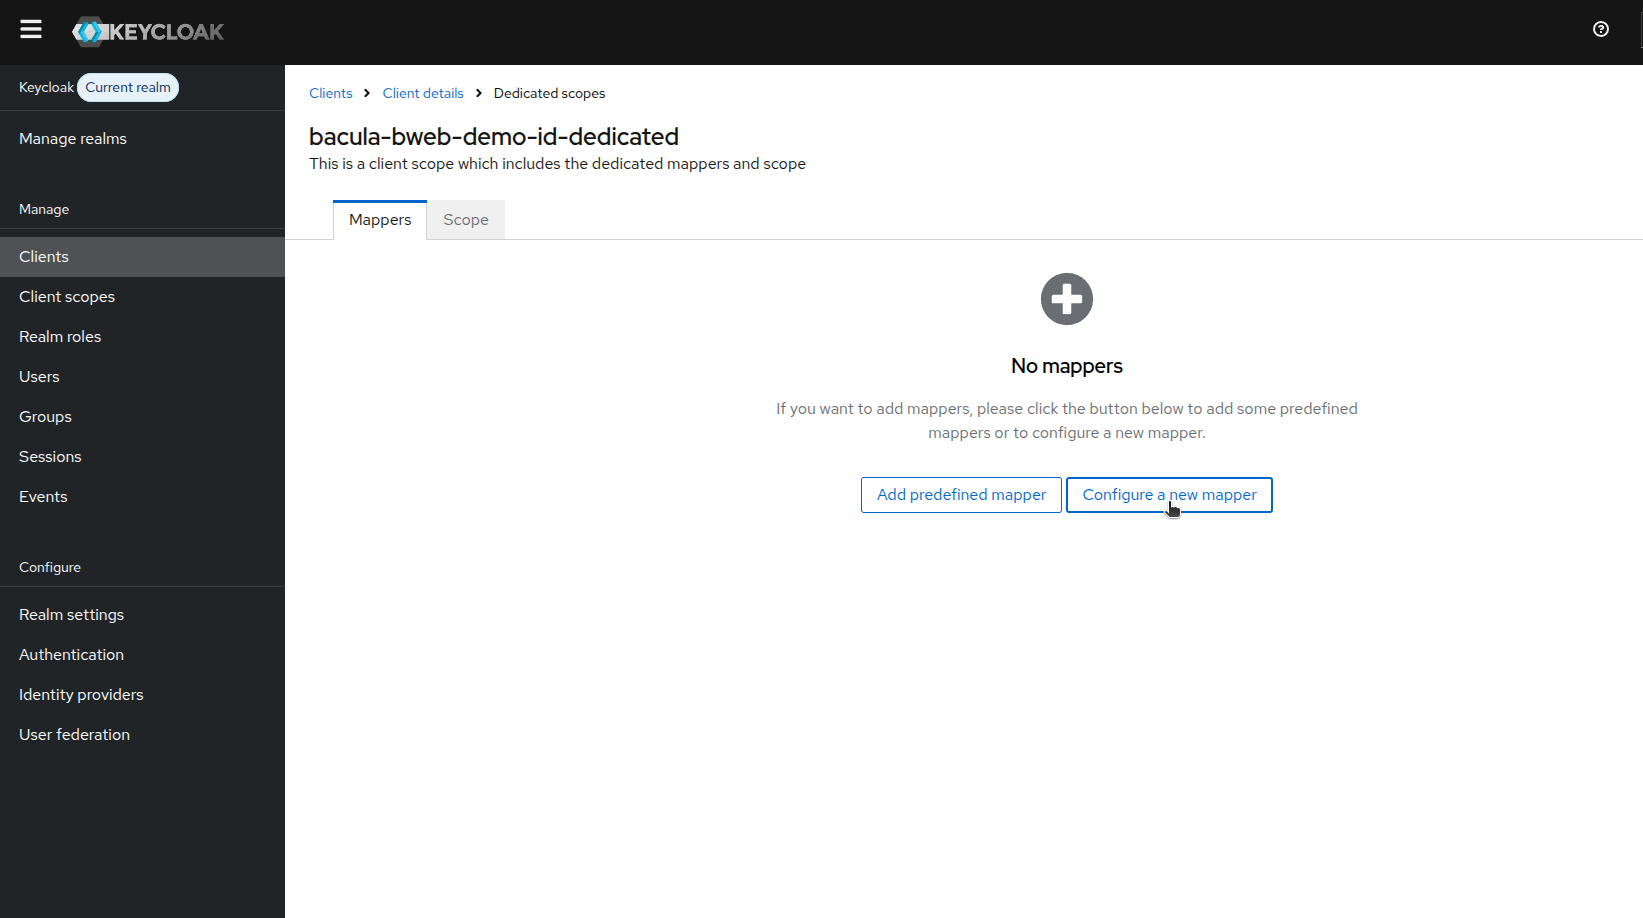
Select the Audience mapper.
Configure the mapper details and save.
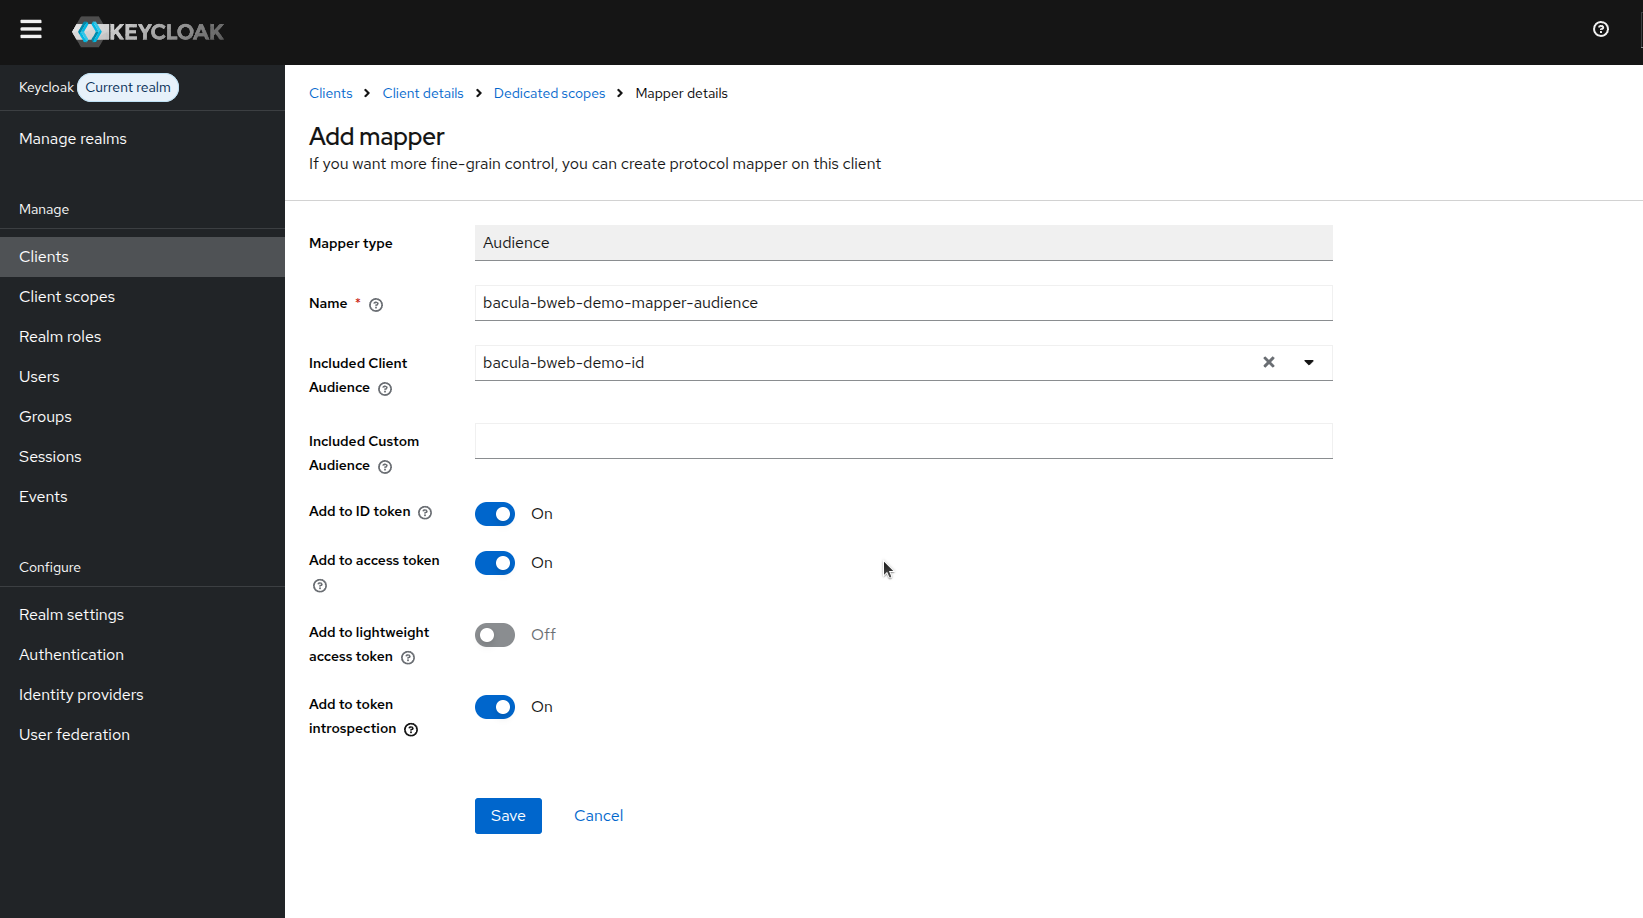
In this step, ensure the mapper is added to the required tokens:
Add to ID token: enabled
Add to access token: enabled
If you add additional role/group mappers, enable inclusion in access tokens as well, because BWeb authorization decisions depend on group/role claims received through OAuth2-Proxy.
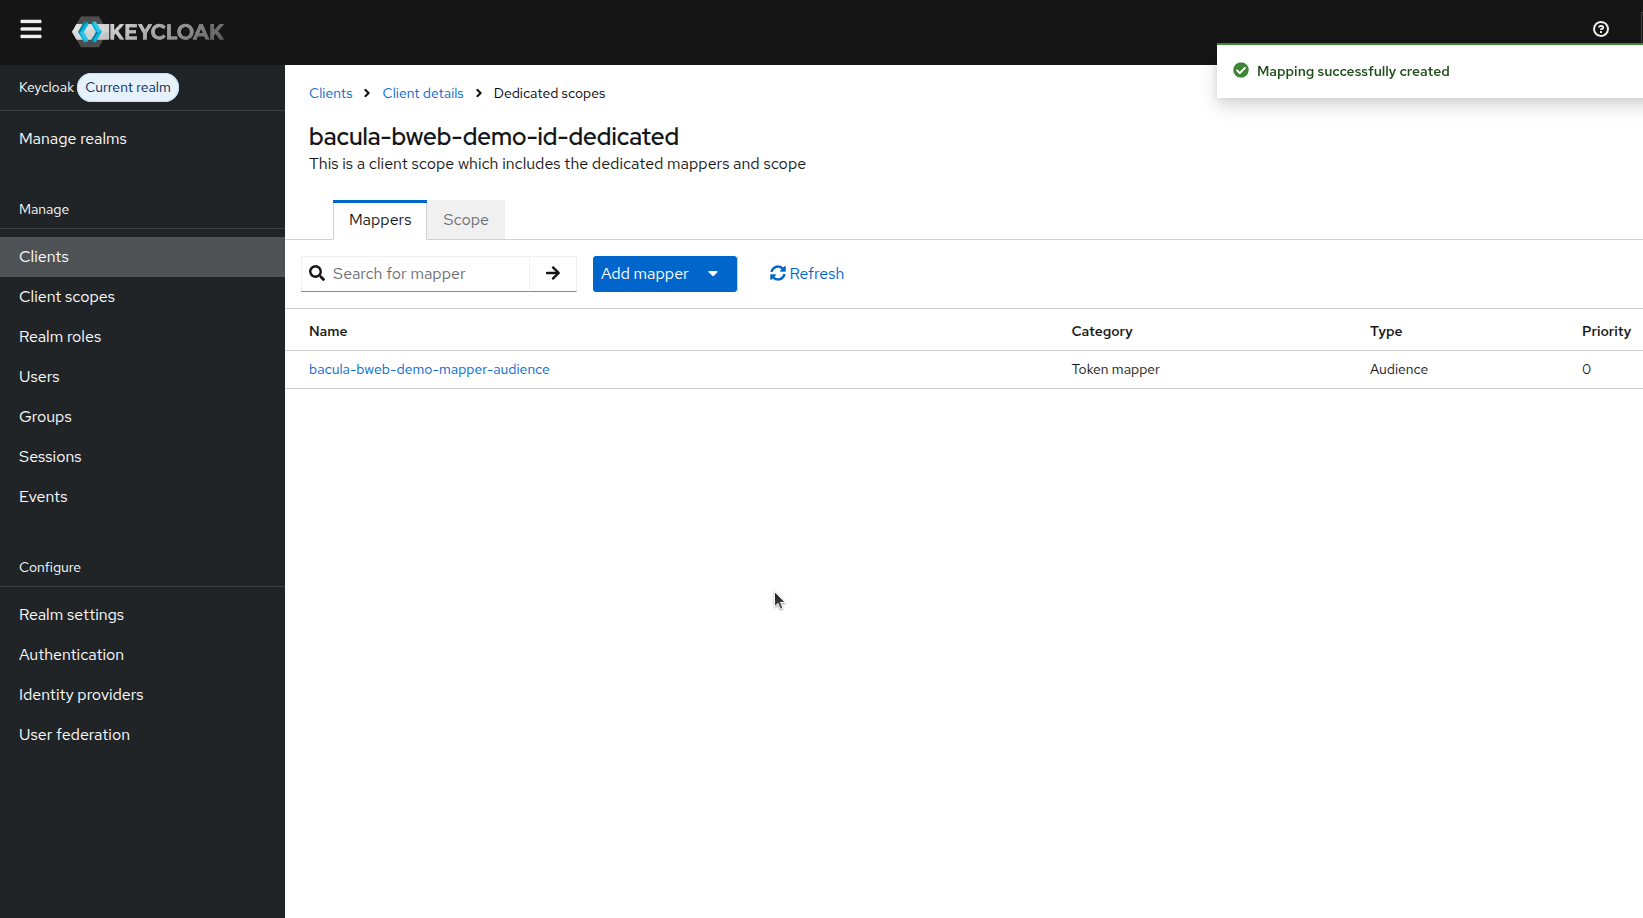
Confirm the mapper appears in the list.
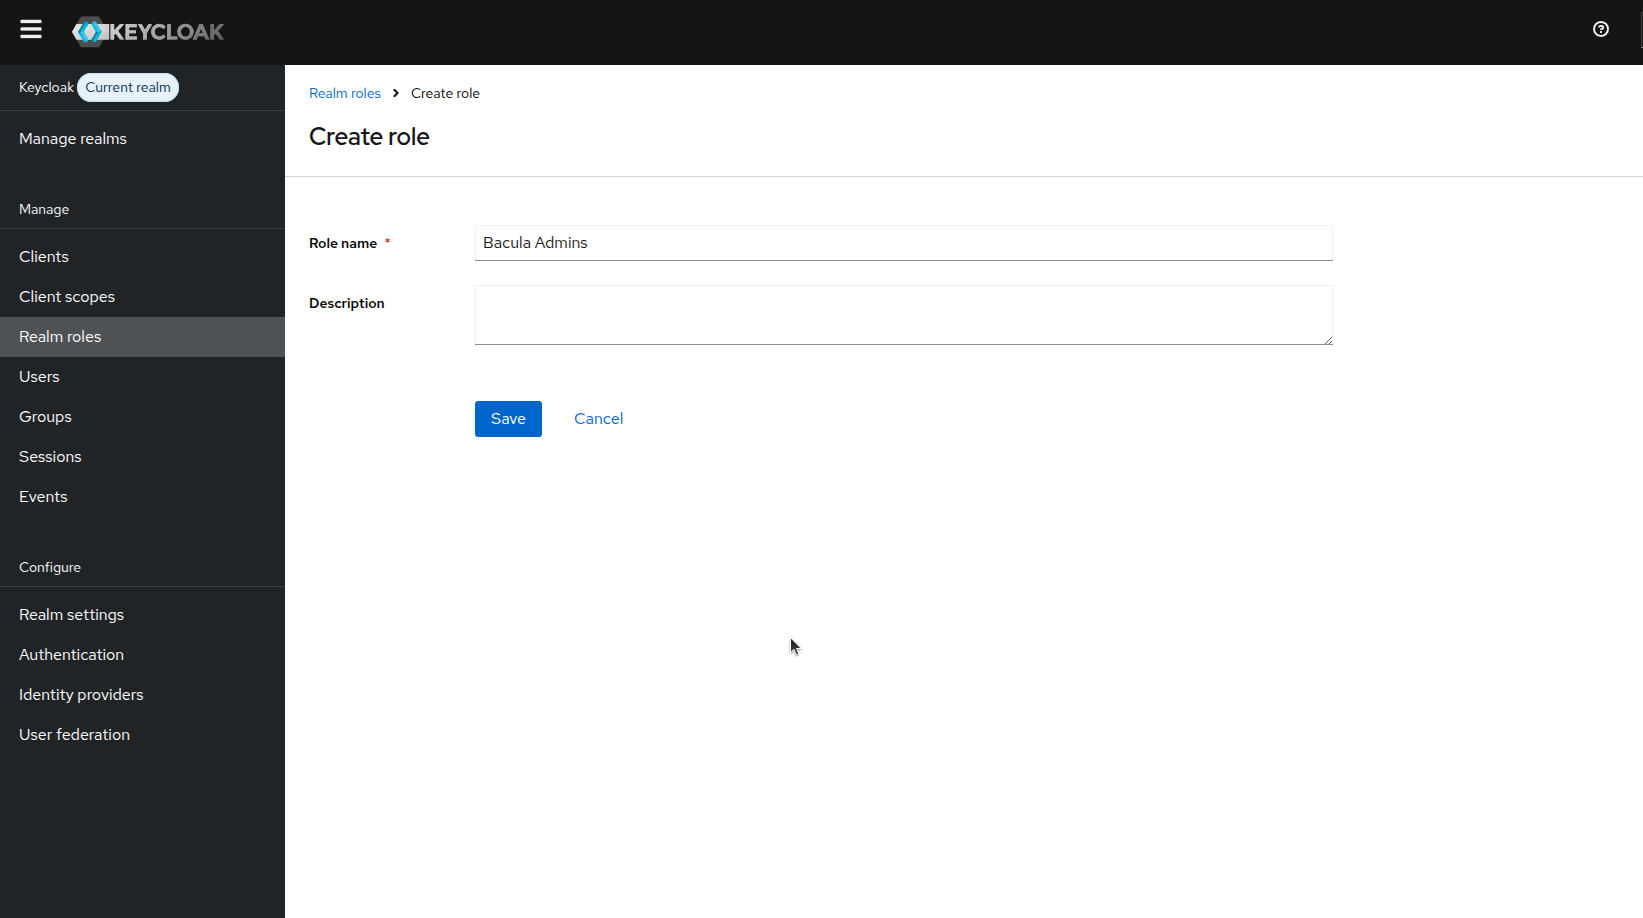
Role Configuration
Define roles that correspond to BWeb permissions. At a minimum, create the admin role
Bacula Admins. Additional roles can use the BWeb prefix (bacula_ by default), for example
bacula_r_view_job.
Keep role names consistent with your BWeb role model to reduce ambiguity during audits and troubleshooting.
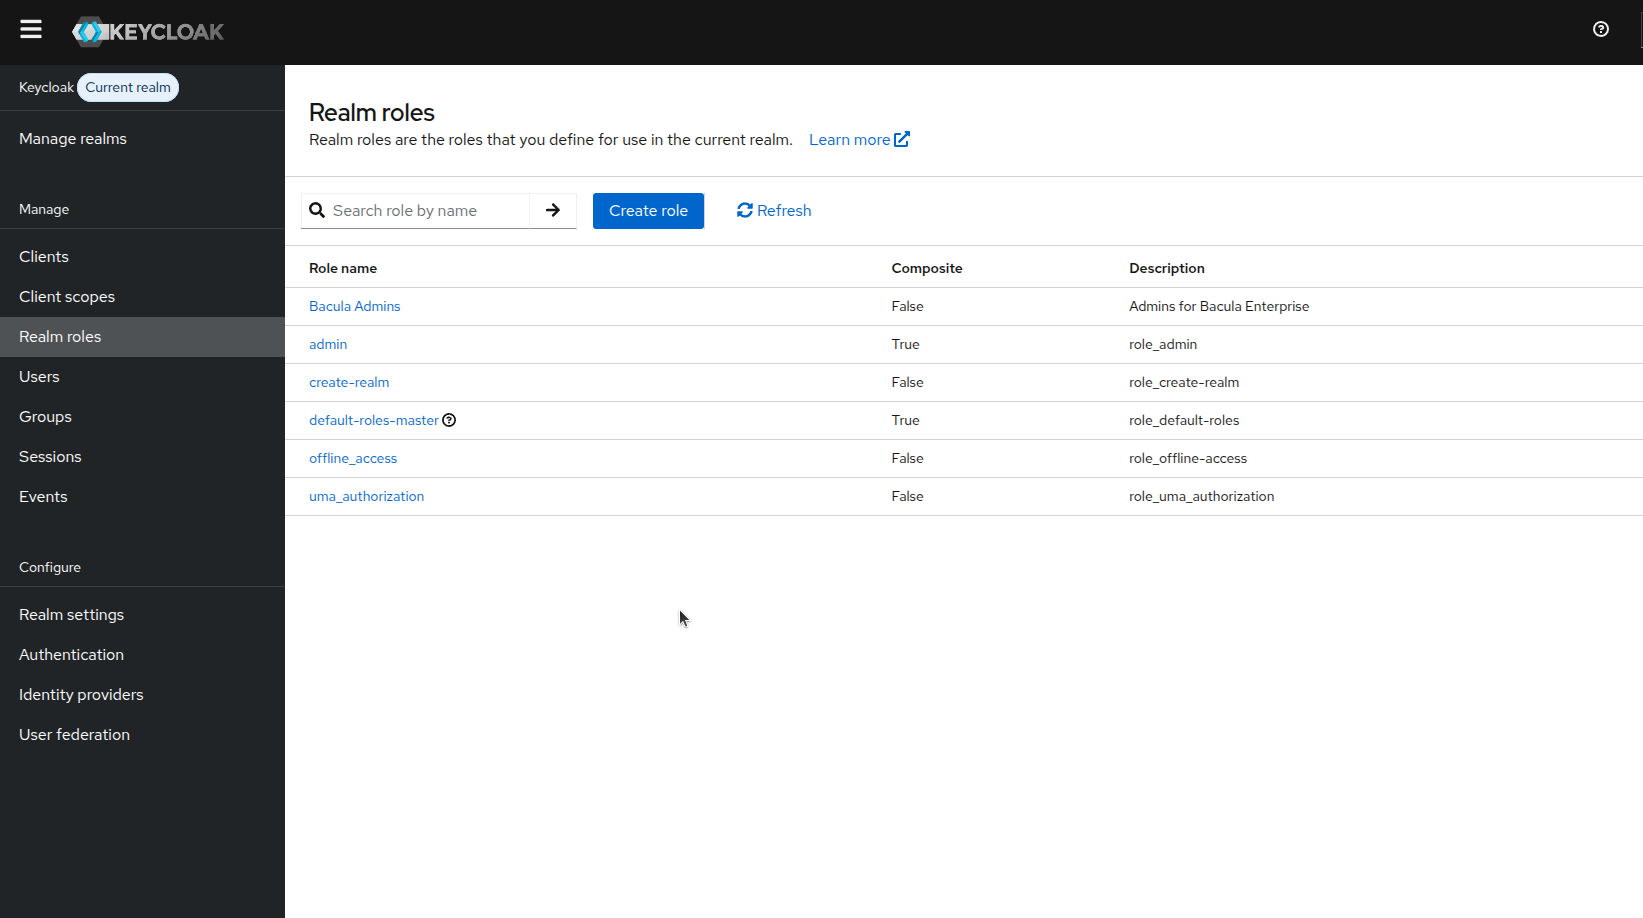
After saving, confirm the role appears in the list.
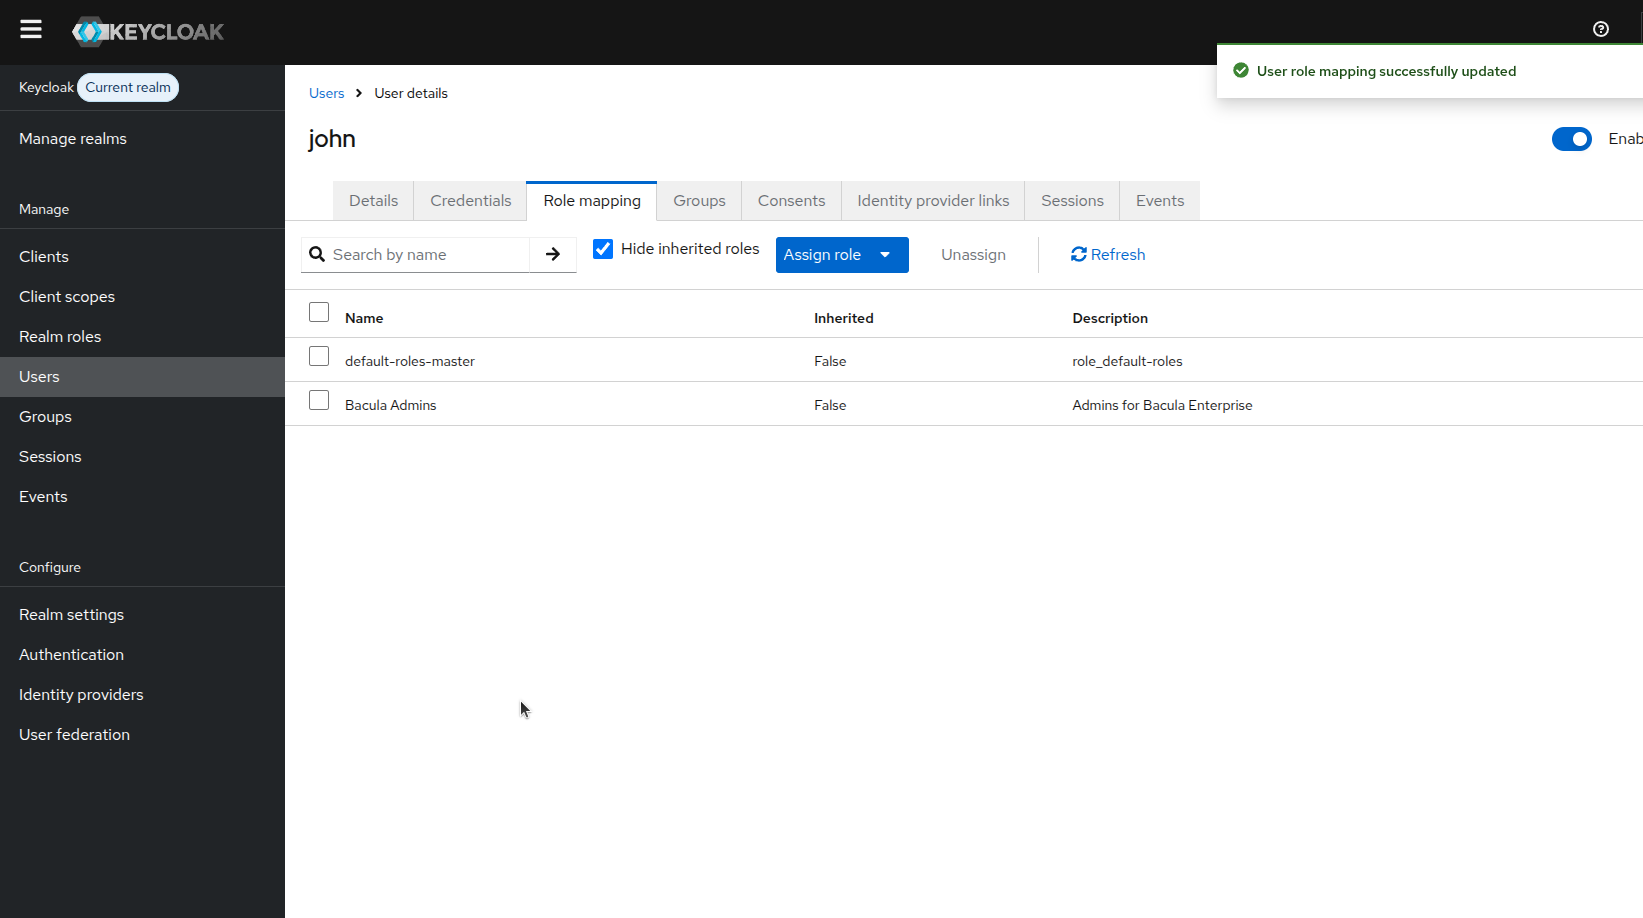
User Assignment
Assign at least one user to the admin role so you can complete the BWeb first-login wizard.
In production, prefer assigning users via groups instead of direct per-user assignments for easier maintenance.

Confirm the role mapping appears on the user.
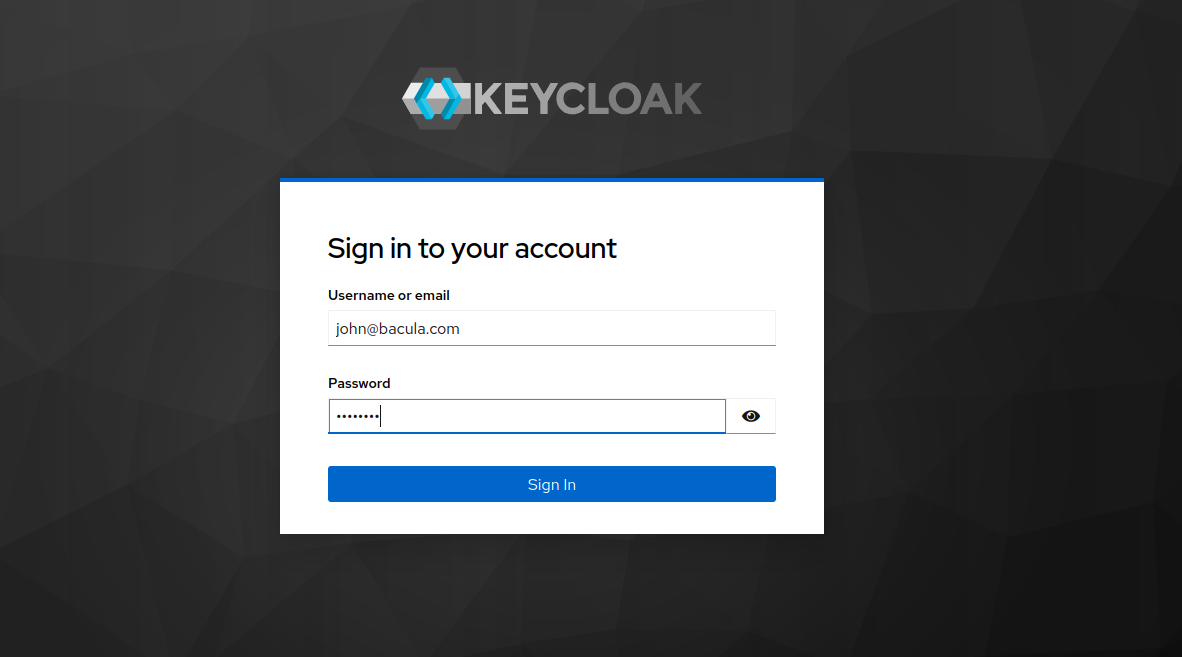
BWeb Login and Logout Validation
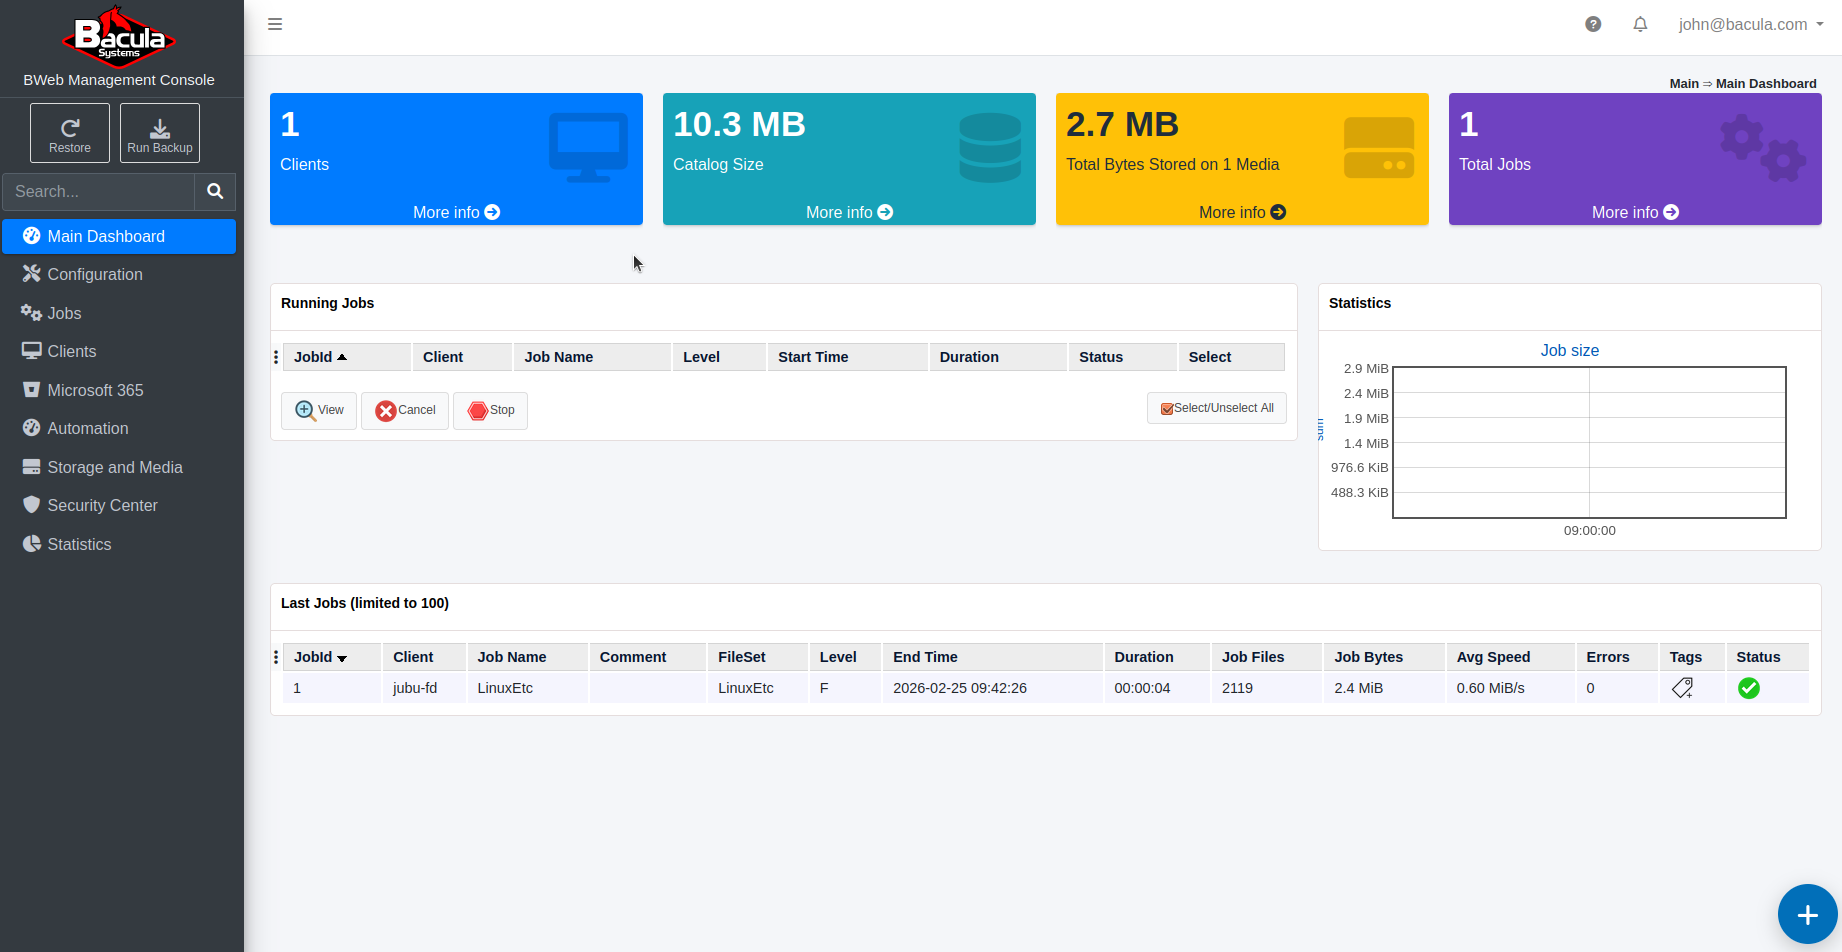
Open BWeb in a browser and validate the authentication flow.
BWeb redirects to the Keycloak login page.
After authentication, the user lands in the BWeb dashboard.
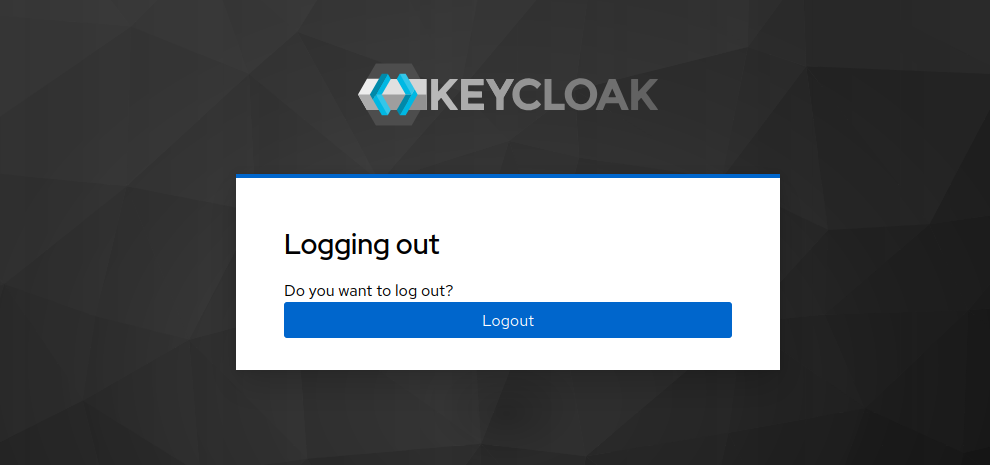
When the user logs out, Keycloak confirms the logout operation. If the user returns to BWeb, they should be redirected to Keycloak again unless a valid IdP session is still active.
Once the IdP configuration is complete, continue with Installation and Deployment.
See also
Previous articles:
Next articles:
Go back to: Authentication via OpenID Connect/OAuth 2.0 and Single Sign-On.